Tag Archives: diy ideas

DIY Flower Baskets from Recycled Paper Cups

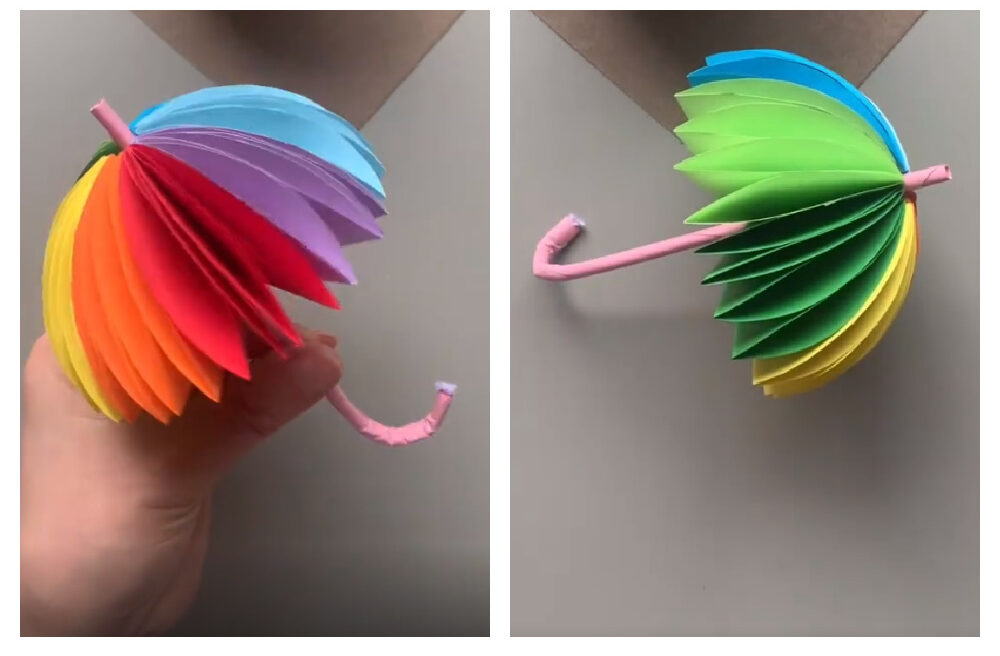
Don’t throw away the leftover yarn and paper cups, we can recycle these items to make flower baskets. These beautiful flower baskets can decorate our room and can also be used to grow flowers and plants. Let’s get started now!

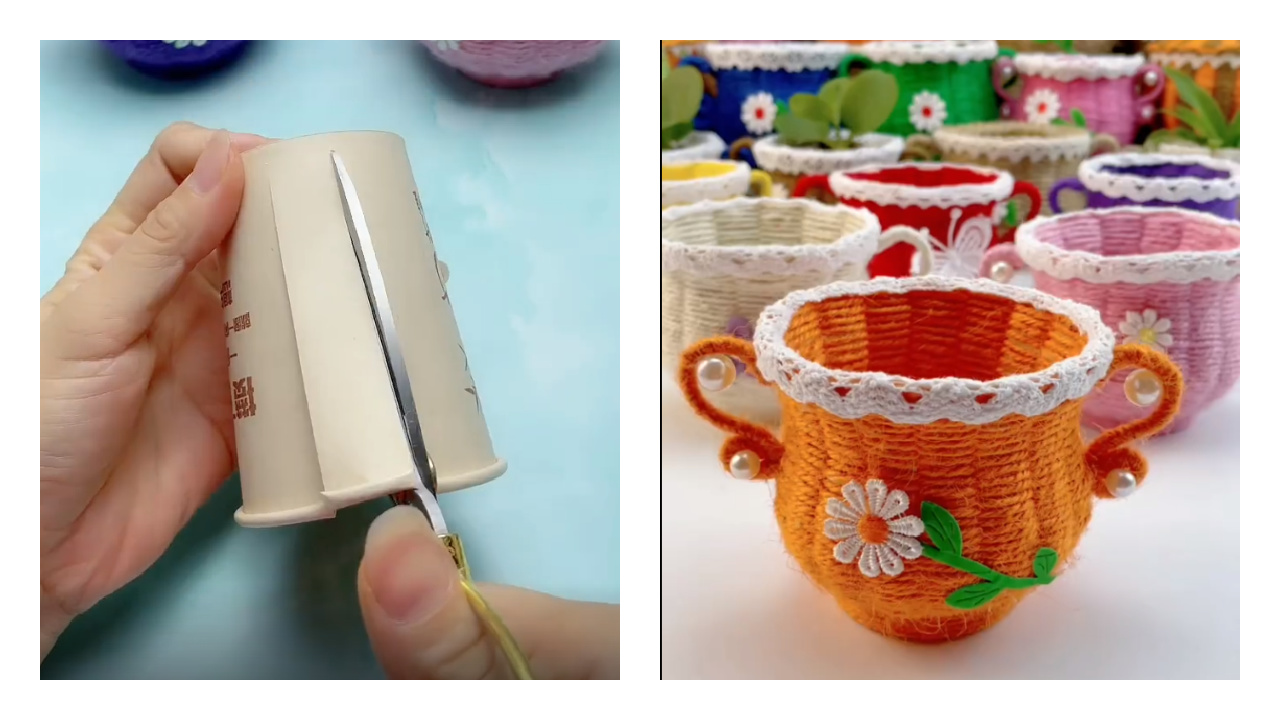
1. First, we take a paper cup and cut it with scissors on the paper cup. 
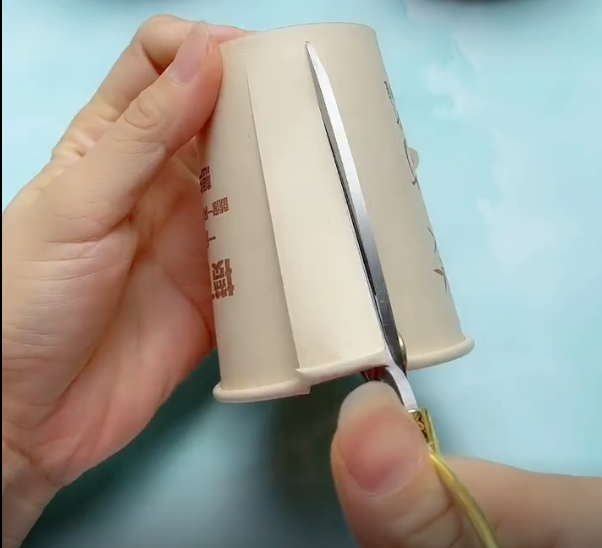
2. Cut the paper cup into long strips.
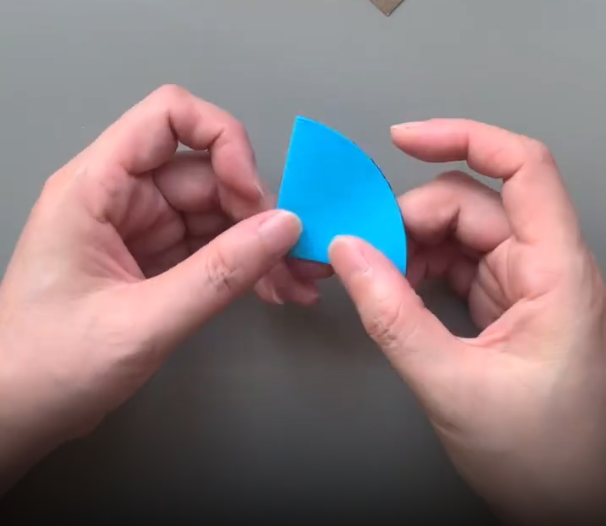
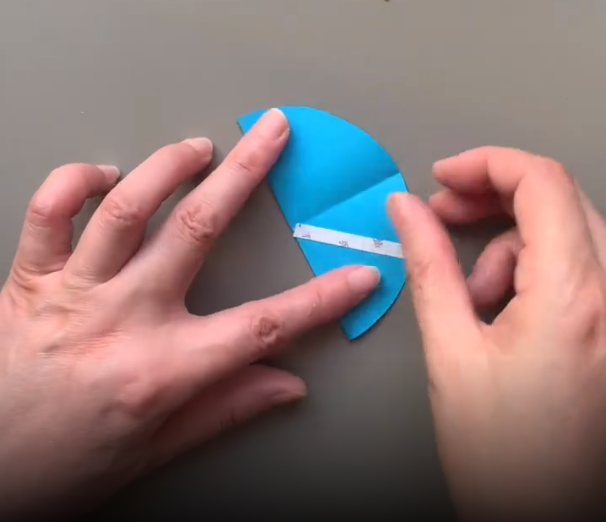
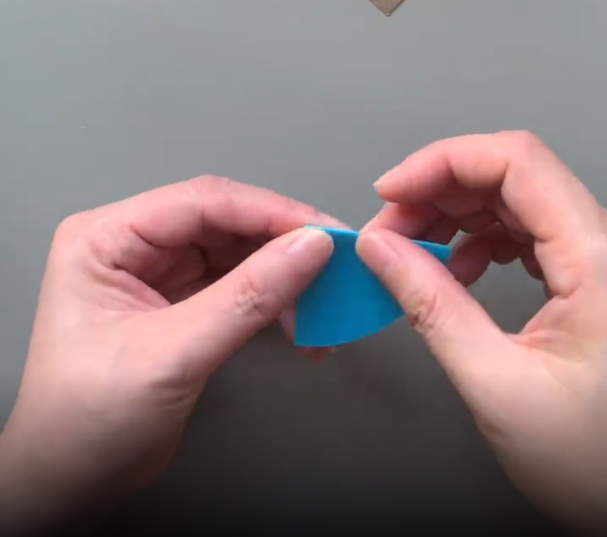
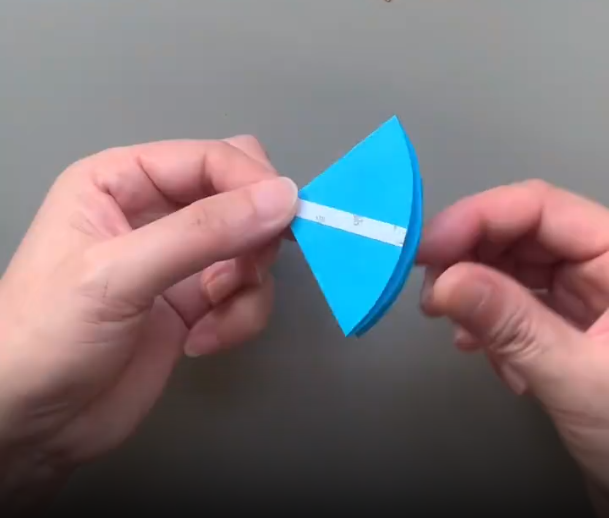
3. Cut the whole paper cup into a circle. 
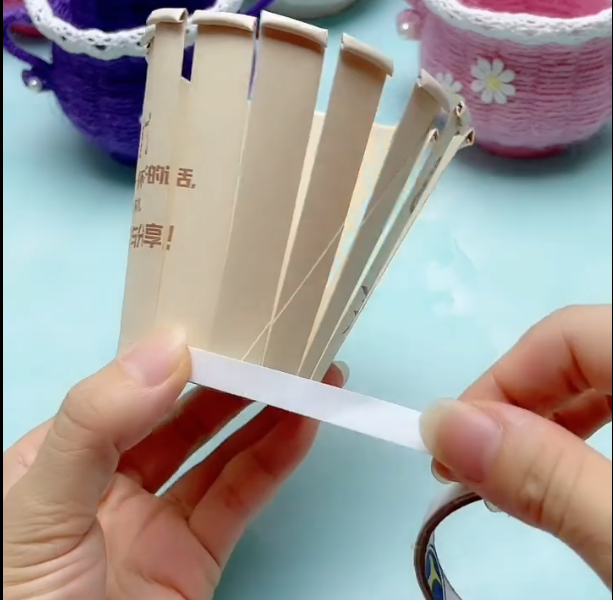
4. Wrap the bottom of the cup with double-sided tape. 
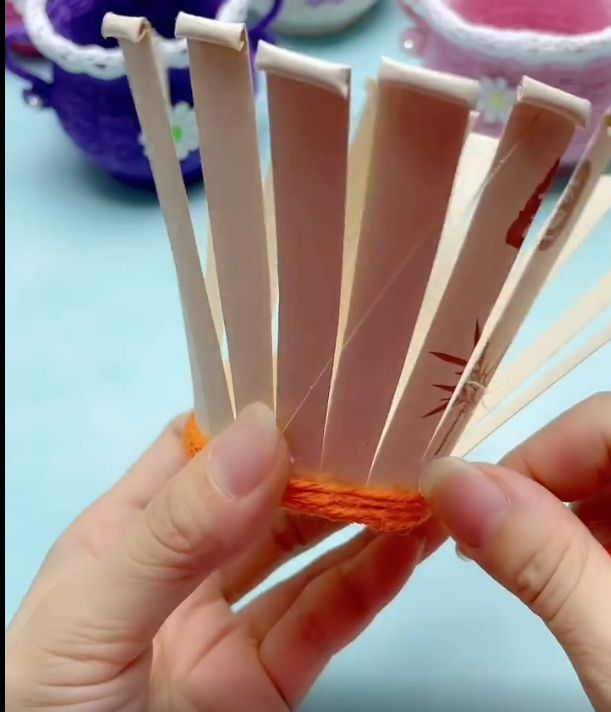
5. Using your favorite colored yarn, wrap it around the double-sided tape on the bottom of the cup. 


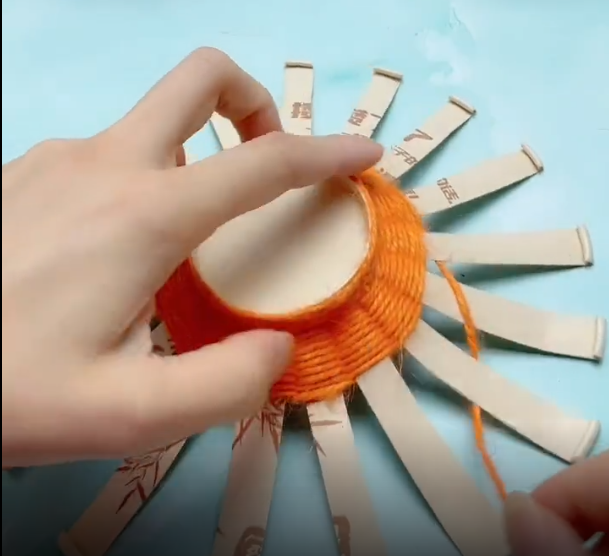
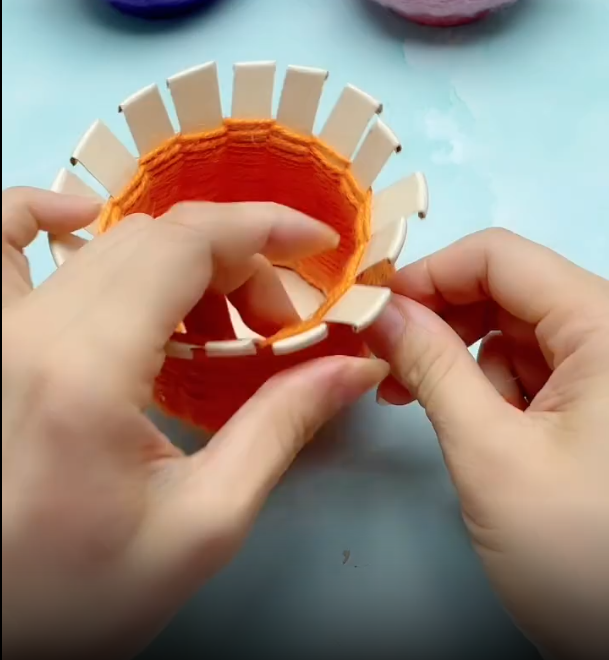
6. Keep winding, pay attention when winding into strips, and each strip should cross each other. 
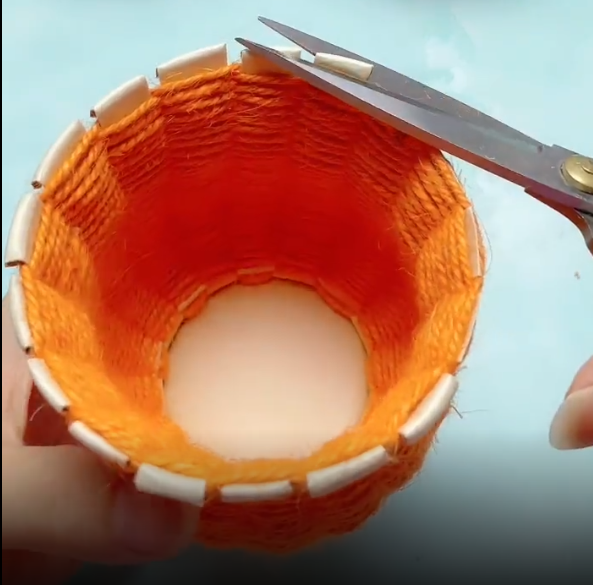
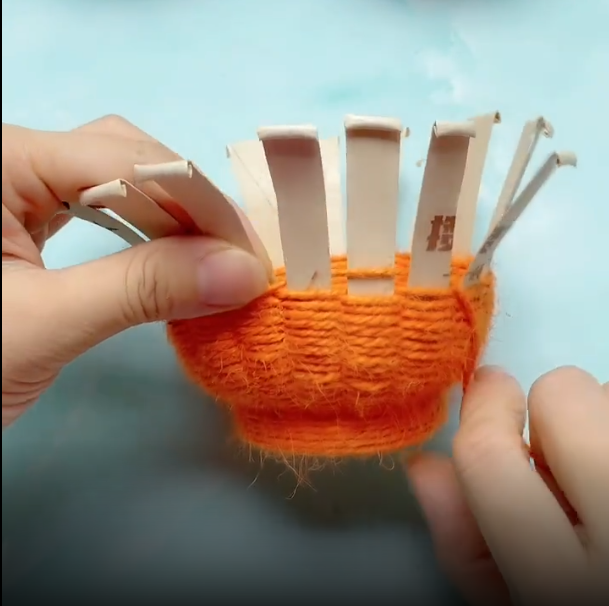
7. When reaching the mouth of the cup, we use scissors to cut off the excess part of the mouth of the cup. 
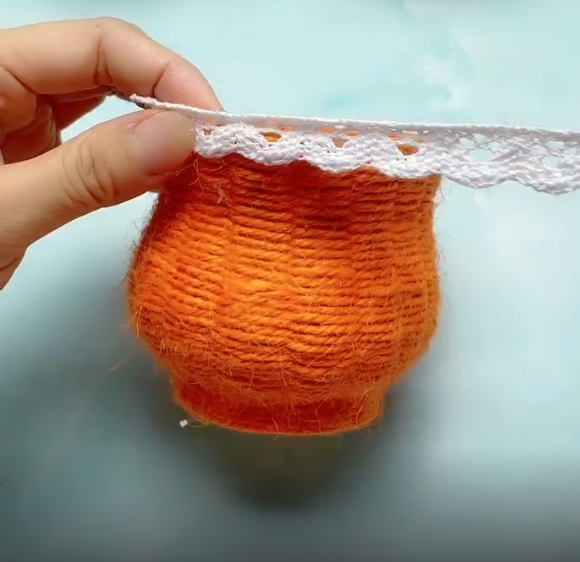
8. Then we wrap it around the mouth of the cup with our favorite lace. 
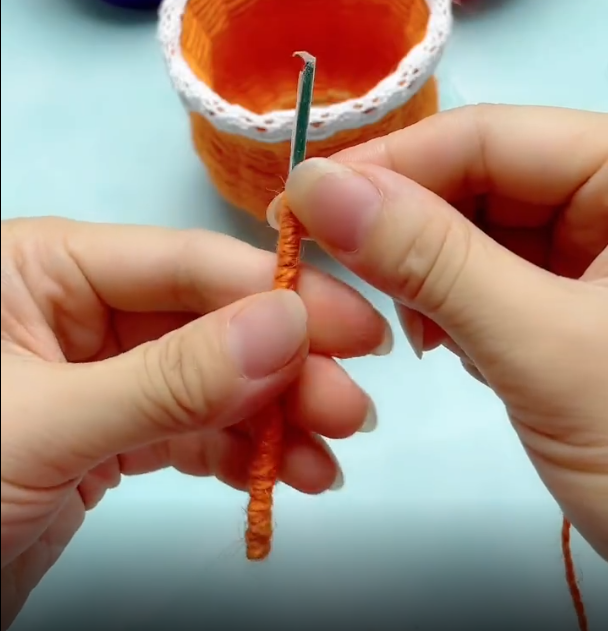
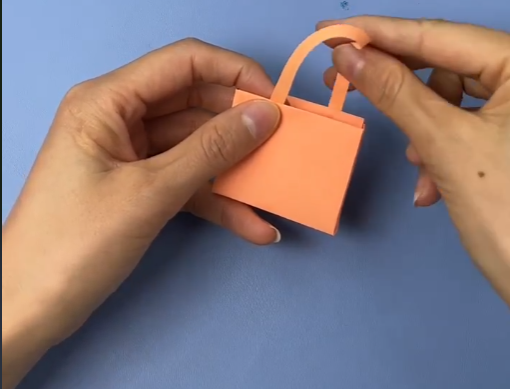
9. We wrap the yarn with a deformable hook. 
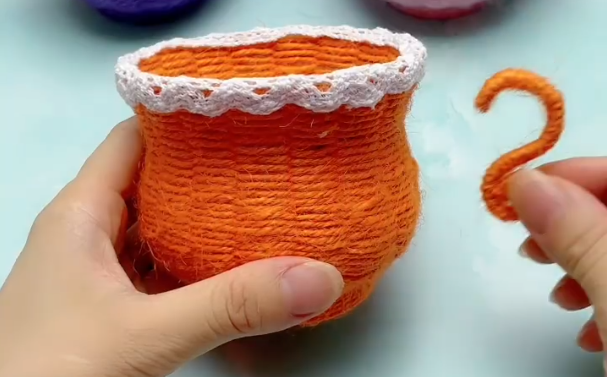
10. Pinch the crochet hook into a handle. 
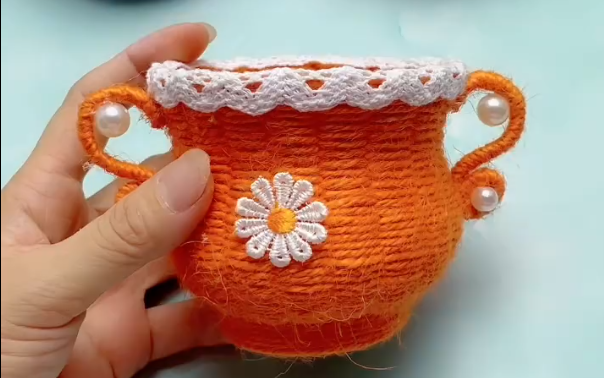
11. Make two handles in the symmetrical position of the cup, and add a little decoration to the handles. 
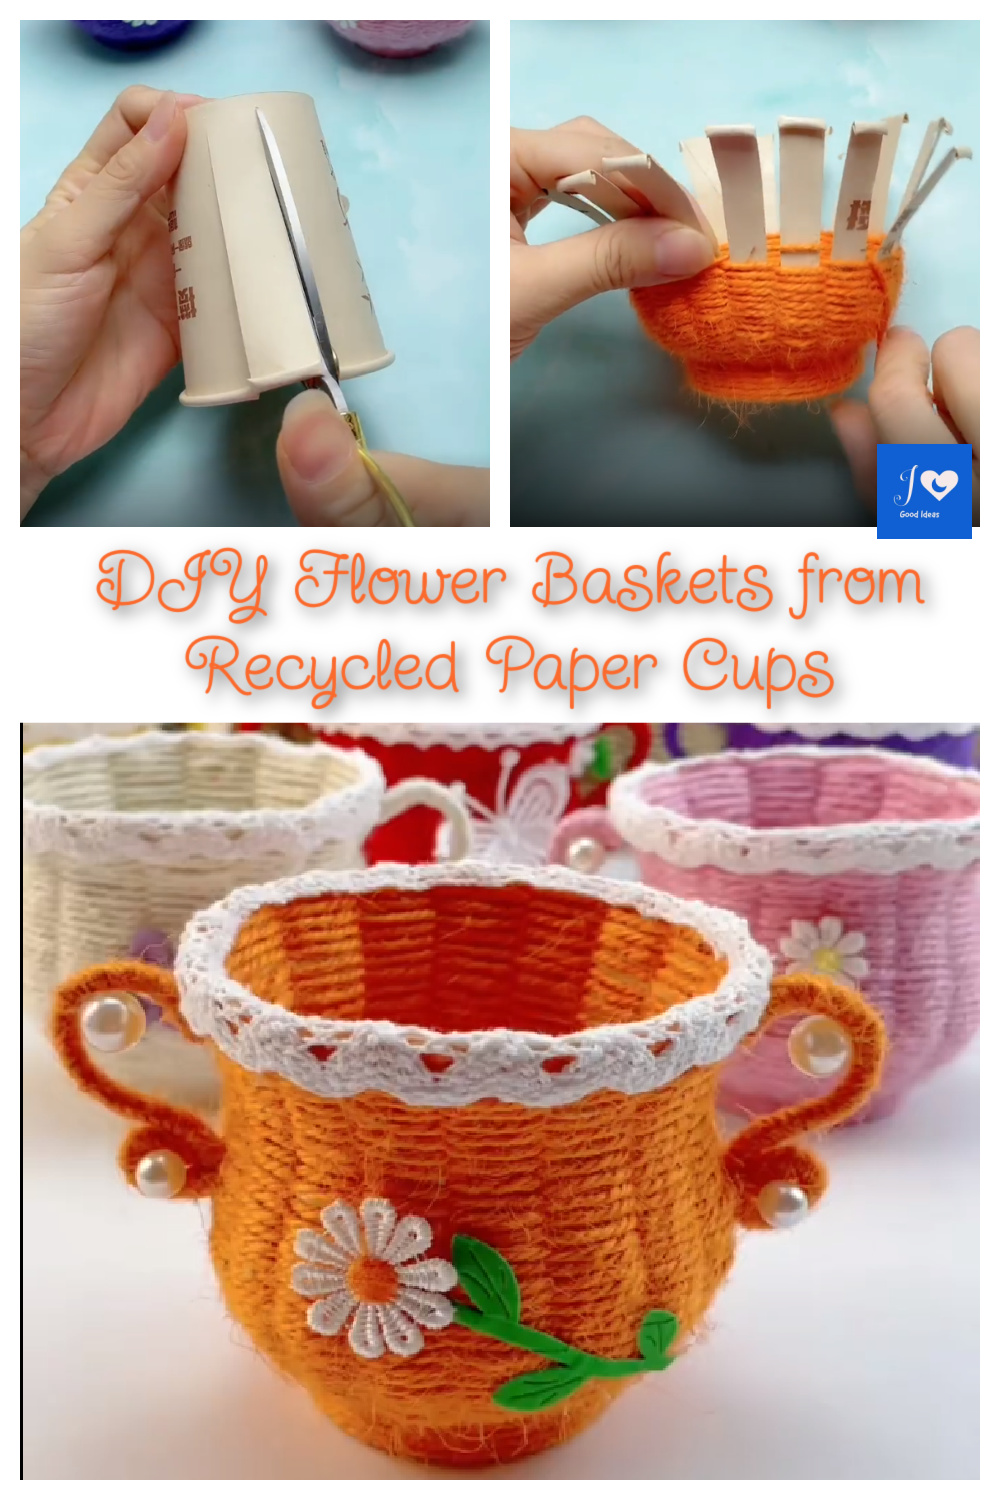
12. Finally, you can add some other details on the cup, such as green leaves, etc., so that our paper cup flower basket is ready. Enjoy!

YOU MAY LIKE: DIY Adorable Pinwheel with Q-tips Tutorial

Sharing is Caring:

DIY Paper Rainbow Umbrella Tutorial

This is a very creative craft – DIY rainbow umbrella. These little umbrellas look so small and cute, your little ones will love them. Let’s spend quality parent-child time with our children.

For this DIY Paper Rainbow Umbrella project, materials you will need:
Colored paper, double-sided tape, scissors, pen

1. First, we use a circular tool to draw a circle on the paper. 
2. Cut the drawn circle with scissors. 
3. Fold the cut circular paper in half. 
4. Fold in half again. 
5. Put double-sided tape on the folded surface.
6. Then fold it in half to make the double-sided tape and paper stick firmly. 
7. Put double-sided tape on the paper. 
8. Then repeat the above steps. We can take it with a variety of different colors of paper. Double-sided tape must be in the same direction. 
9. We glue the finished papers of various colors together layer by layer. 
10. We glued all the colored papers together. 
11. We are using other paper to make the handle of the umbrella.
12. We roll the paper into a straw shape. 
13. Apply double-sided tape to the cross section of the colored paper that was glued together earlier. 
14. Paste the umbrella handle we made with the previous cross section. 


15. We open the colored cross-sections and paste them together. 
16. Cut off the excess umbrella handle. 
17. Then bend it and glue it together.

18. In this way, our small handmade paper umbrella is ready. Do you like it?

You may also like: DIY Origami Mini Tote Bag Tutorial

Sharing is Caring:

DIY Origami Mini Tote Bag Tutorial

Origami is a very interesting handmade activity, it is an art activity in which paper is folded into various shapes. Origami originated in China in the 1st or 2nd century AD, was introduced to Japan in the 6th century, and then spread to the world through Japan. Today, we are going to share a DIY origami mini tote bag tutorial.
1. First, we prepare a square piece of paper, you can choose the color you want and fold it in half. 
2. Continue to fold in half in the other direction. 

3. At one end of a corner, fold to the middle point.
4. Continue on this basis and fold to the middle point again. 
5. Repeat the above operation in the other direction. 
6. Then we opened the paper and got a creased piece of paper. 
7. We fold in half again. 
8. Fold the bottom edge of the triangle up. 
9. Fold the right edge to the middle. 
10. Fold the left edge to the middle. 
11. Unfold the sheet again and fold one corner to the middle according to the crease. 
12. Do the same steps as above for the opposite corner. 
13. Unfold and fold inwards according to the crease. 


14. Fold the exposed sides inwards. 
15. Follow the crease to form this look. 
16. Fold the exposed sides inwards. 
17. We use thin strips of paper to make the handle of the bag. 
18. Finally, we use the brush to draw the pattern we like.  Such a small and cute tote bag is ready, I hope you like it and have a good time!

You may also like: How to DIY Cute Caterpillar with Orange Peel

Sharing is Caring:

How to DIY Cute Caterpillar with Orange Peel

When I was a kid, I really enjoyed listening to caterpillar stories. The most profound memory is that there was a green caterpillar crawling and crawling. He was hungry and wanted to find something to eat. On the first day, he saw a red apple and ate it with a big gulp. The next day, he found two yellow bananas and ate them with a big mouthful. Day three….Day four……

So, today we will use the orange peel to make a cute caterpillar. This project is very good for kids. They will have fun. So Please don’t throw away the orange peel after eating the orange. Lets’s start.

First, we peeled the orange peel, then scooped it out into a circle with a plastic cover, and repeated this step, so we got a lot of small circles,as shown in the picture above.

Then we take a plate, put a leaf on it first, then put the round orange peel next to the leaf, and arrange them in the shape of a caterpillar according to the opposite direction. Then we use a black pen to draw the tentacles, then draw the mouth and feet, and put two black and white jelly beans as eyes.

A cute and beautiful caterpillar is ready, do you like it?

MORE GOOD IDEAS HERE.

Sharing is Caring:

How to Make a Cute Cartoon Rainbow with AI

Rainbow is an optical phenomenon in meteorology. When sunlight hits water droplets in mid-air, the light is refracted and reflected, forming an arched colorful spectrum in the sky, from the outer circle to the inner circle, showing red, orange, yellow, Green, blue, indigo, purple seven colors. There are actually an infinite number of colors in the rainbow, for example, there are many more subtle differences between red and orange, but for the sake of simplicity, only seven colors are used as distinctions.
In fact, as long as there are water droplets in the air and the sun is shining at a low angle behind the observer, an observable rainbow phenomenon may occur. Rainbows most often appear in the afternoon, just after the rain, when the sky turns clear, when there is less dust in the air When full of small water droplets, one side of the sky is darker because there are still rain clouds, and the observer is no longer obscured by clouds above or behind the observer’s head and the sunlight is visible, so that the rainbow will be easier to see. Another place where rainbows are often seen is near waterfalls. In clear weather, spraying water or spraying water mist in the air with your back to the sun can also create artificial rainbows.

Who doesn’t love a colorful rainbow? Although we can’t see it often, we can use AI to simply make a cute Cartoon Rainbow. Let’s get started now!

1. First use the oval tool to draw a garden and fill in the color you like. 


2. Using the Offset Path tool, select a negative value for the displacement and offset it inward. And fill in your favorite color. 
3. Repeat the previous step and fill in the color you like. 
4. Repeat the previous step and fill in the color you like. 
5. Repeat the previous step and fill in the color you like. 
6. Repeat the previous step and fill in the color you like. 
7. Repeat the previous step, you can choose any color here. 
8. Select the entire screen. 
9. Use the Split function in Pathfinder to split all layers. 
10. Select the middle two layers. 
11. Use the “Subtract Top” feature in Pathfinder. 
12. Select all layers. 
13. Using the eraser tool, hold down the SHIFT key and erase a line in parallel at a suitable position. 
14. Delete useless parts. 

15. Use the oval tool to draw small clouds.
16. Select the entire small cloud, copy a layer, and place it under the cloud as a shadow.


17. Duplicate one and place the 2 clouds in the appropriate positions. That’s it! Enjoy~~

You may also like: Office Furniture Design Tutorial

Sharing is Caring:

How to Design a Cartoon House by AI

We shared how to use AI to design coffee cups last week, and it was a relatively simple tutorial. Today, we will use AI tools to design a Cartoon House, this is a slightly more complicated project. We hope you like it.


1. First, draw a white frame of your own size as the background.


2. Use the rectangle tool to draw a color block at the bottom. (The colors here are just as transitions).


3. Continue to draw a rectangular color block according to the picture.


4. Use the Rectangle Tool to draw a rectangle.


5. Use the Rectangle Tool to draw a rectangle, and use the Anchor Point Tool to pull out a parallelogram shape.


6. Draw a small window in the middle.


7. Draw two small doors in the middle. The amount is up to you.


8. Use the Rectangle Tool to draw a rectangle on the other side.


9. Continue to draw a rectangle with the Rectangle Tool, and use tools such as the Anchor Point Tool to pull out the following shapes as the eaves of the house. 
10. Use the pen tool to outline the shape of the lawn yourself. 
11. Use the Ellipse Tool and the Rounded Rectangle Tool to form a small tree.


12. Use the oval tool to draw the grass. The method is to use the oval tool to draw 2 long flat circles, and then use the anchor point tool to shrink the two openings.


13. Continue to draw the window.


14. Draw a row of small windows on the house.


15. Continue to use the rectangle tool to deform and other methods to draw the eaves.


16. Use the Polygon Tool or Pen Tool to draw 2 triangles as decoration. 
17. Use the rectangle tool to draw a color block. 
18. Use the rectangle tool to deform and draw the eaves. 
19. Draw windows under the eaves. 
20. Draw a white color block. 
21. Put the white color block in a certain size and position.


22. Use the Anchor Point Tool to adjust to the following shape.


23. Place the white color block on the appropriate layer order.

24. Make another white color block in the same way and place it in the appropriate layer order. 
25. Draw a color block on the eaves. 
26. Draw the chimney. 
27. Draw a white color block. 
28. Draw another color block on top of the white color block. 
29. Draw a triangle as the top of the tower. 
30. Draw 2 circles as decoration. 
31. Draw a triangle next to the tower and adjust the layer order. 
32. Draw 2 decorations. 
33. Use the oval tool to draw the sun. 
34. Use the Pen Tool to outline the shape of the cloud. 
35. Copy all.
36. Use Edit – Edit Color – Recolor Artwork – Edit – Check Link to Coordinate Color – Drag the color wheel. You can change the color of all color blocks at will.  Now you have your very own cartoon house, Have fun!

MORE GOOD IDEAS HERE.

Sharing is Caring: