Tag Archives: Cartoon

How to Make a Cute Cartoon Rainbow with AI

Rainbow is an optical phenomenon in meteorology. When sunlight hits water droplets in mid-air, the light is refracted and reflected, forming an arched colorful spectrum in the sky, from the outer circle to the inner circle, showing red, orange, yellow, Green, blue, indigo, purple seven colors. There are actually an infinite number of colors in the rainbow, for example, there are many more subtle differences between red and orange, but for the sake of simplicity, only seven colors are used as distinctions.
In fact, as long as there are water droplets in the air and the sun is shining at a low angle behind the observer, an observable rainbow phenomenon may occur. Rainbows most often appear in the afternoon, just after the rain, when the sky turns clear, when there is less dust in the air When full of small water droplets, one side of the sky is darker because there are still rain clouds, and the observer is no longer obscured by clouds above or behind the observer’s head and the sunlight is visible, so that the rainbow will be easier to see. Another place where rainbows are often seen is near waterfalls. In clear weather, spraying water or spraying water mist in the air with your back to the sun can also create artificial rainbows.

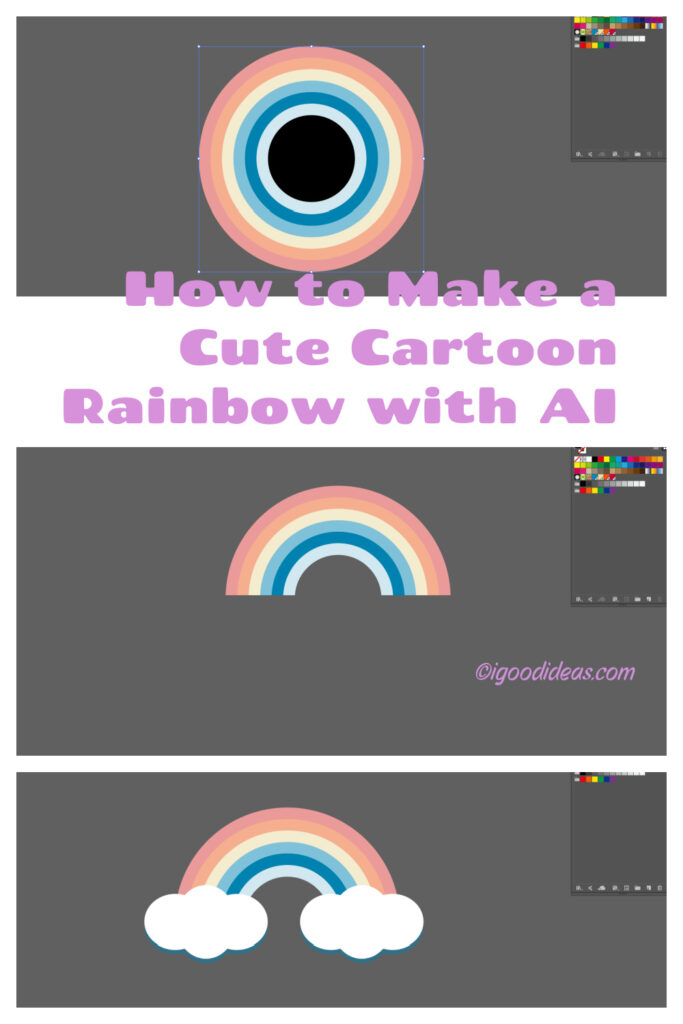
Who doesn’t love a colorful rainbow? Although we can’t see it often, we can use AI to simply make a cute Cartoon Rainbow. Let’s get started now!

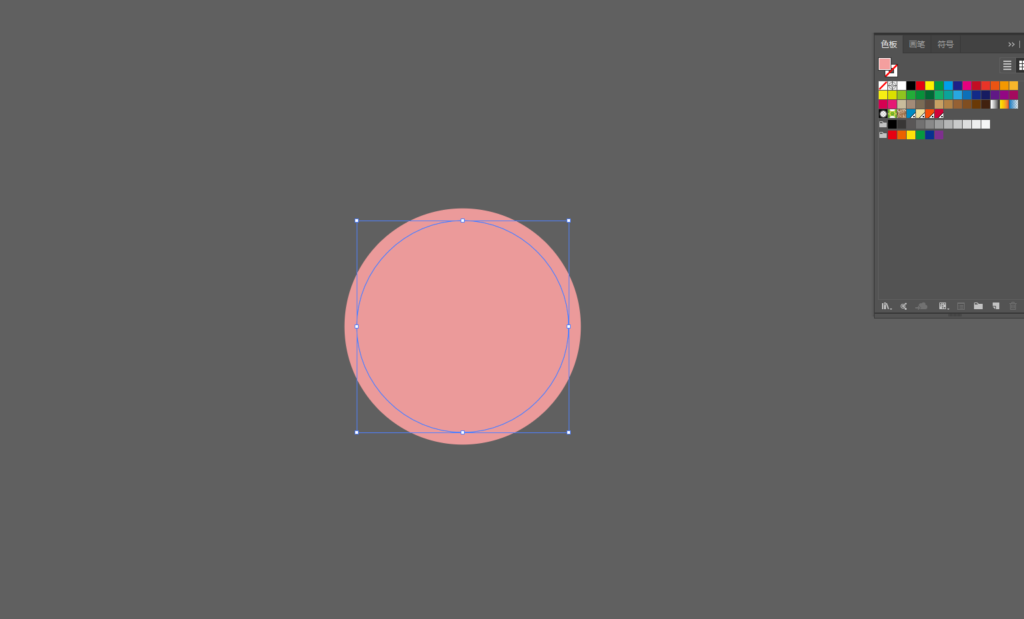
1. First use the oval tool to draw a garden and fill in the color you like. 


2. Using the Offset Path tool, select a negative value for the displacement and offset it inward. And fill in your favorite color. 
3. Repeat the previous step and fill in the color you like. 
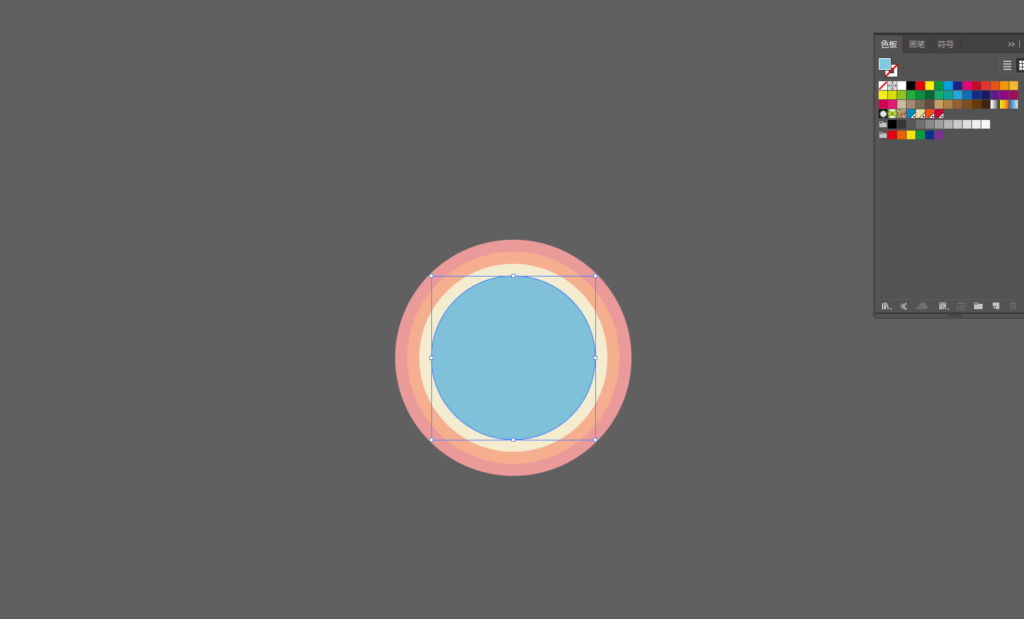
4. Repeat the previous step and fill in the color you like. 
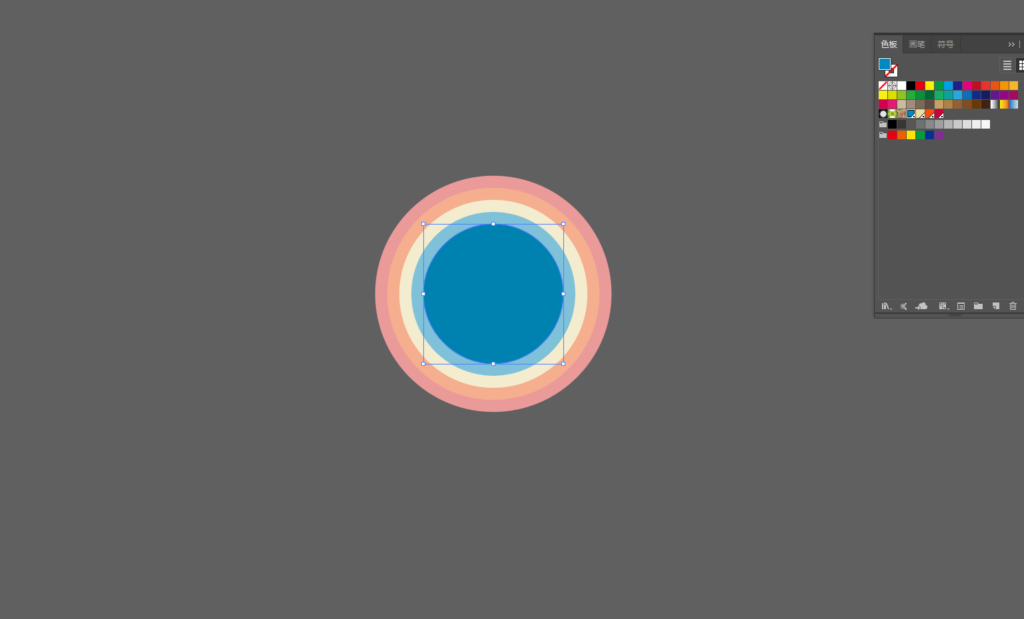
5. Repeat the previous step and fill in the color you like. 
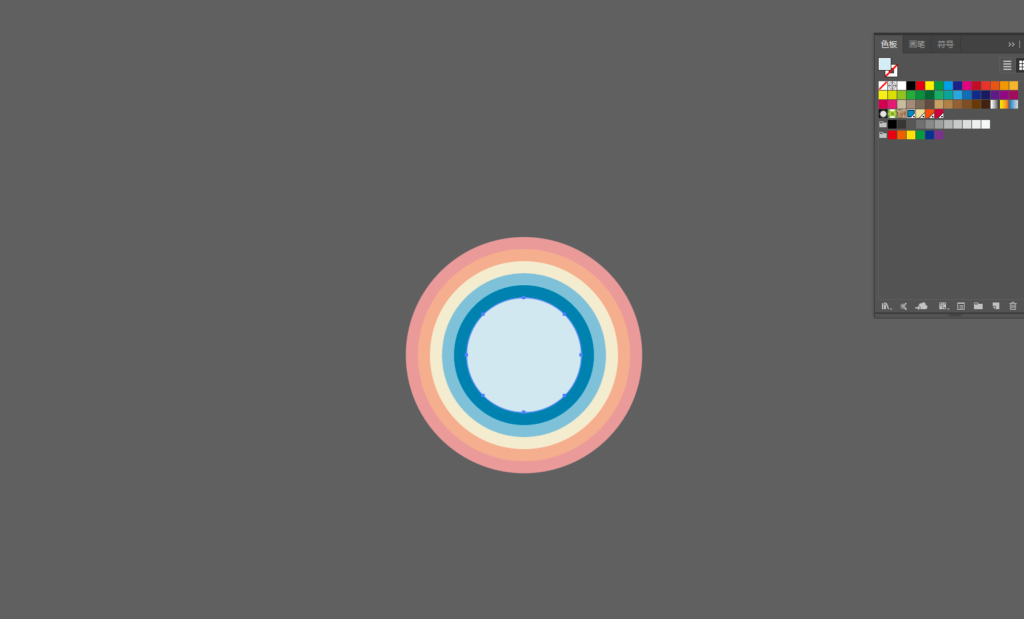
6. Repeat the previous step and fill in the color you like. 
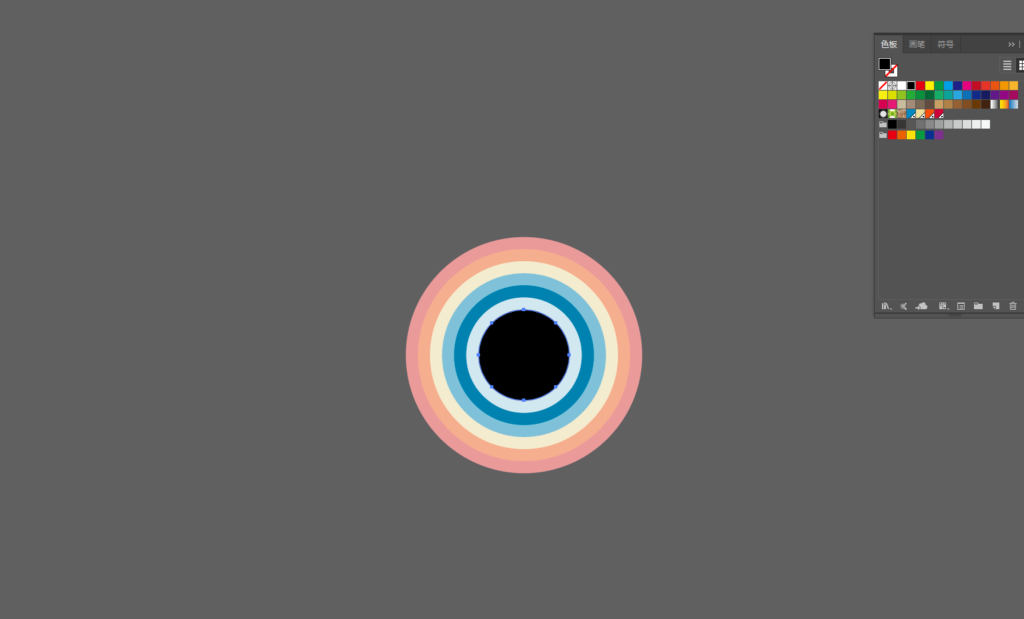
7. Repeat the previous step, you can choose any color here. 
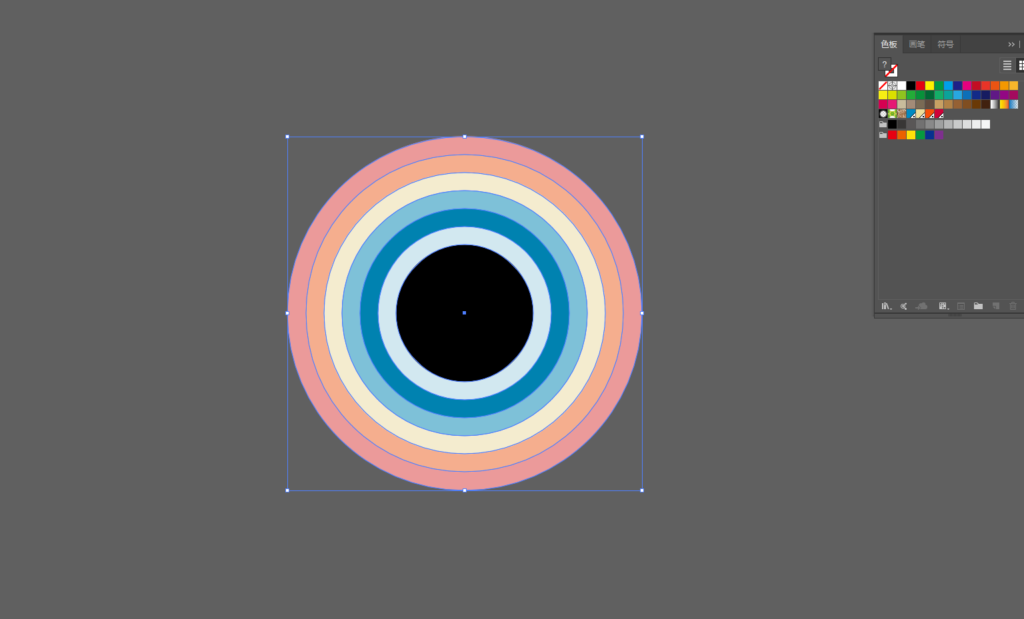
8. Select the entire screen. 
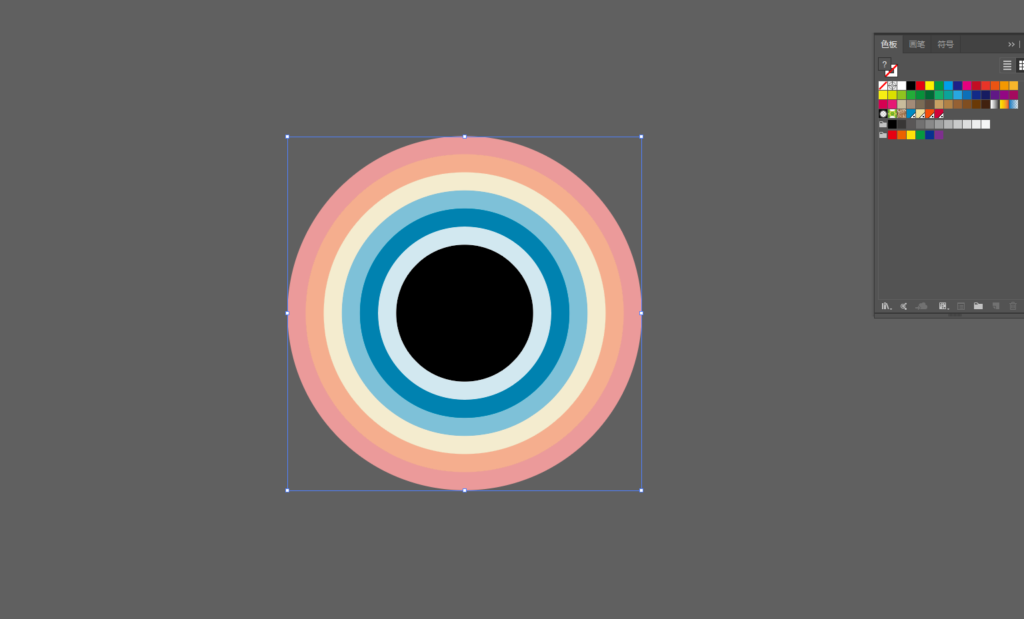
9. Use the Split function in Pathfinder to split all layers. 
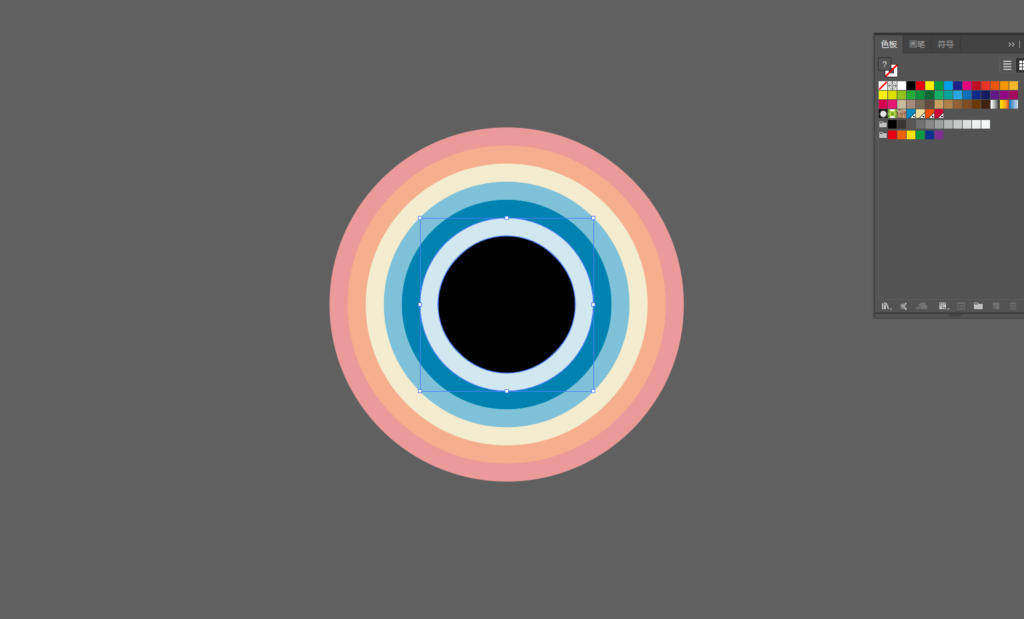
10. Select the middle two layers. 
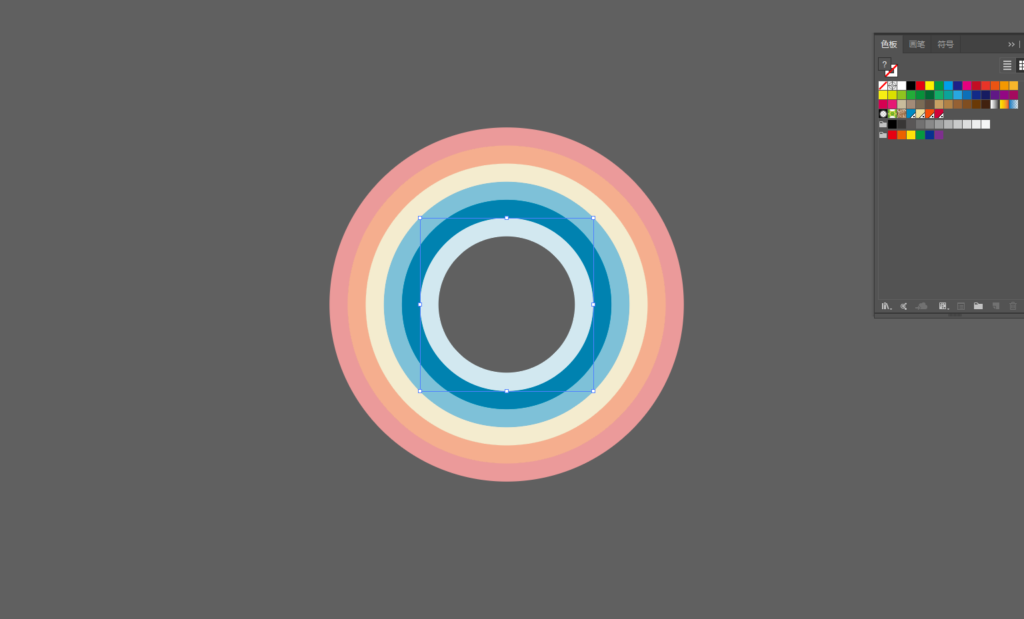
11. Use the “Subtract Top” feature in Pathfinder. 
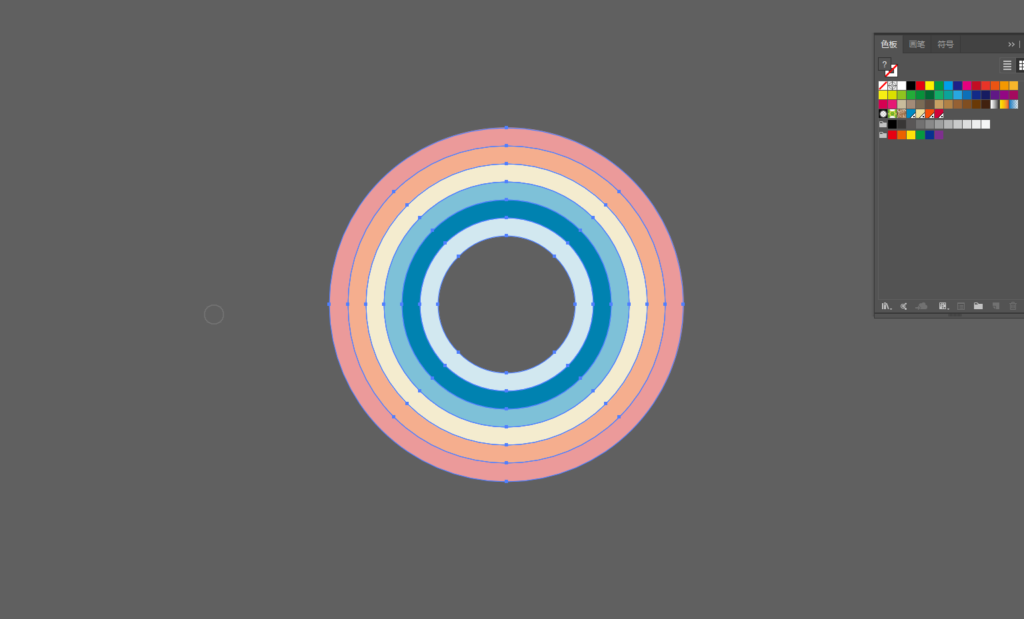
12. Select all layers. 
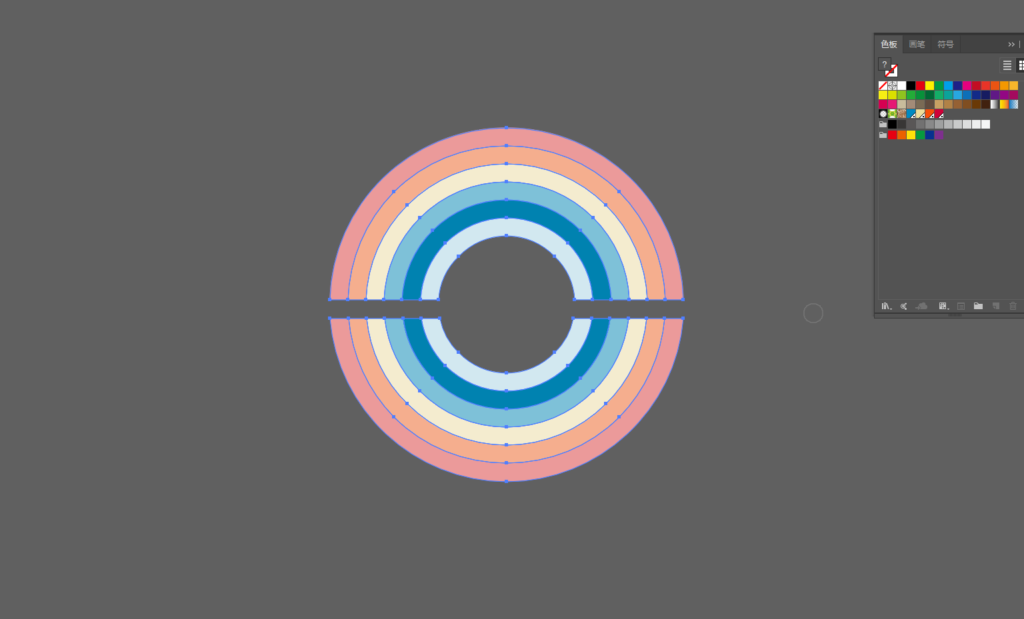
13. Using the eraser tool, hold down the SHIFT key and erase a line in parallel at a suitable position. 
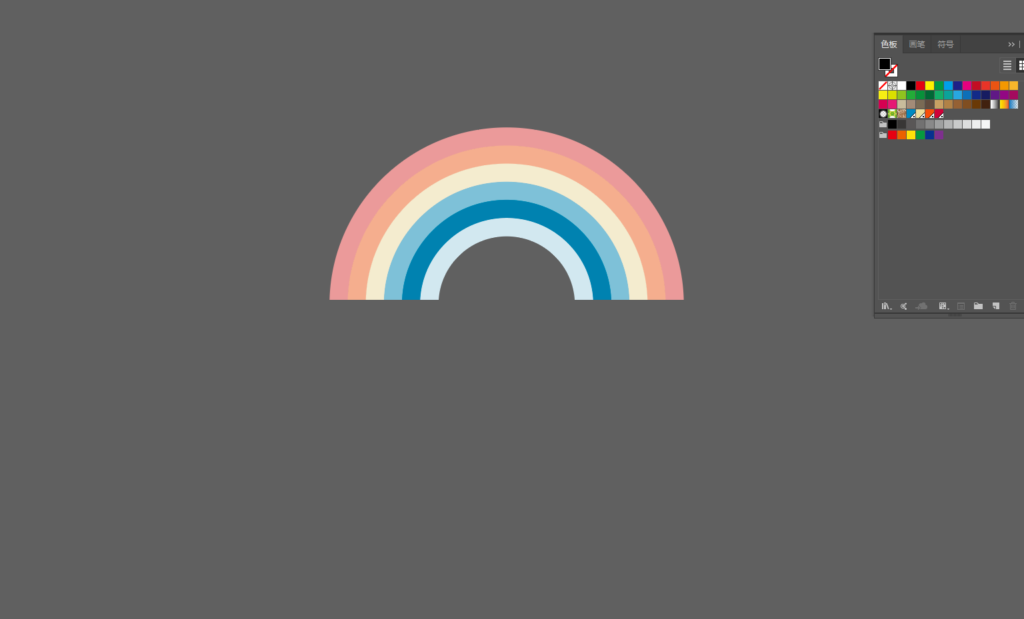
14. Delete useless parts. 

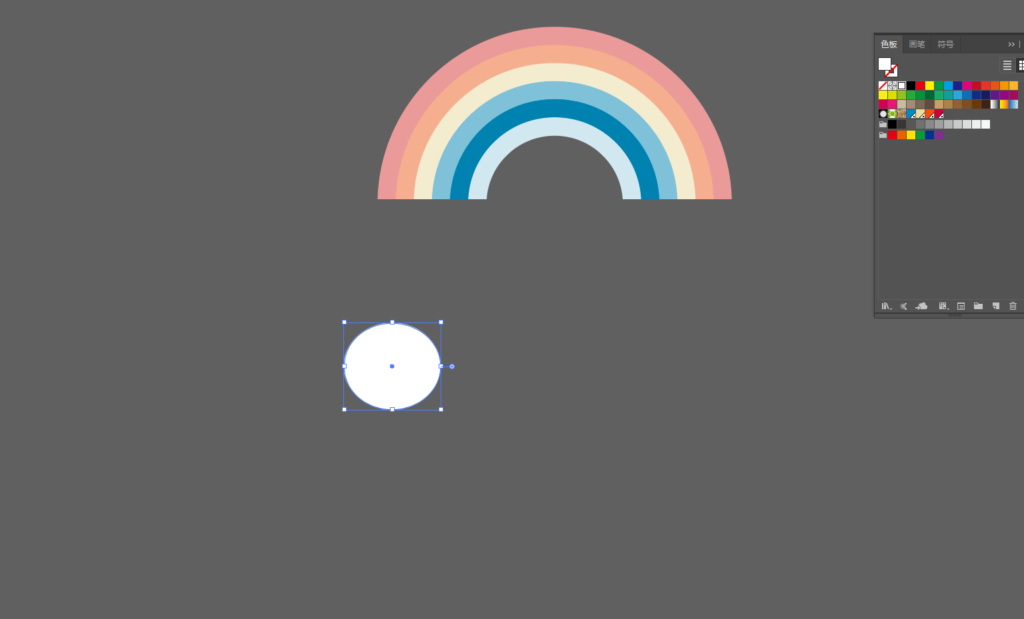
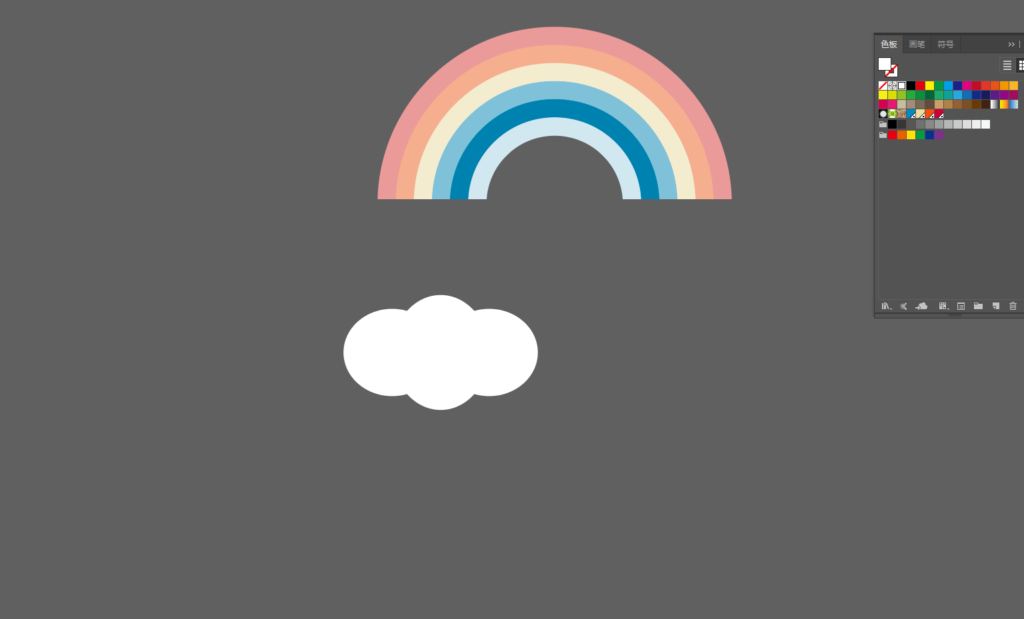
15. Use the oval tool to draw small clouds.
16. Select the entire small cloud, copy a layer, and place it under the cloud as a shadow.


17. Duplicate one and place the 2 clouds in the appropriate positions. That’s it! Enjoy~~

You may also like: Office Furniture Design Tutorial

Sharing is Caring:

How to Design a Cartoon House by AI

We shared how to use AI to design coffee cups last week, and it was a relatively simple tutorial. Today, we will use AI tools to design a Cartoon House, this is a slightly more complicated project. We hope you like it.


1. First, draw a white frame of your own size as the background.


2. Use the rectangle tool to draw a color block at the bottom. (The colors here are just as transitions).


3. Continue to draw a rectangular color block according to the picture.


4. Use the Rectangle Tool to draw a rectangle.


5. Use the Rectangle Tool to draw a rectangle, and use the Anchor Point Tool to pull out a parallelogram shape.


6. Draw a small window in the middle.


7. Draw two small doors in the middle. The amount is up to you.


8. Use the Rectangle Tool to draw a rectangle on the other side.


9. Continue to draw a rectangle with the Rectangle Tool, and use tools such as the Anchor Point Tool to pull out the following shapes as the eaves of the house. 
10. Use the pen tool to outline the shape of the lawn yourself. 
11. Use the Ellipse Tool and the Rounded Rectangle Tool to form a small tree.


12. Use the oval tool to draw the grass. The method is to use the oval tool to draw 2 long flat circles, and then use the anchor point tool to shrink the two openings.


13. Continue to draw the window.


14. Draw a row of small windows on the house.


15. Continue to use the rectangle tool to deform and other methods to draw the eaves.


16. Use the Polygon Tool or Pen Tool to draw 2 triangles as decoration. 
17. Use the rectangle tool to draw a color block. 
18. Use the rectangle tool to deform and draw the eaves. 
19. Draw windows under the eaves. 
20. Draw a white color block. 
21. Put the white color block in a certain size and position.


22. Use the Anchor Point Tool to adjust to the following shape.


23. Place the white color block on the appropriate layer order.

24. Make another white color block in the same way and place it in the appropriate layer order. 
25. Draw a color block on the eaves. 
26. Draw the chimney. 
27. Draw a white color block. 
28. Draw another color block on top of the white color block. 
29. Draw a triangle as the top of the tower. 
30. Draw 2 circles as decoration. 
31. Draw a triangle next to the tower and adjust the layer order. 
32. Draw 2 decorations. 
33. Use the oval tool to draw the sun. 
34. Use the Pen Tool to outline the shape of the cloud. 
35. Copy all.
36. Use Edit – Edit Color – Recolor Artwork – Edit – Check Link to Coordinate Color – Drag the color wheel. You can change the color of all color blocks at will.  Now you have your very own cartoon house, Have fun!

MORE GOOD IDEAS HERE.

Sharing is Caring: