All posts by igoodideas

FREE Crocket / Knitting Patterns... and DIY

How to Draw Cartoon Characters by AI

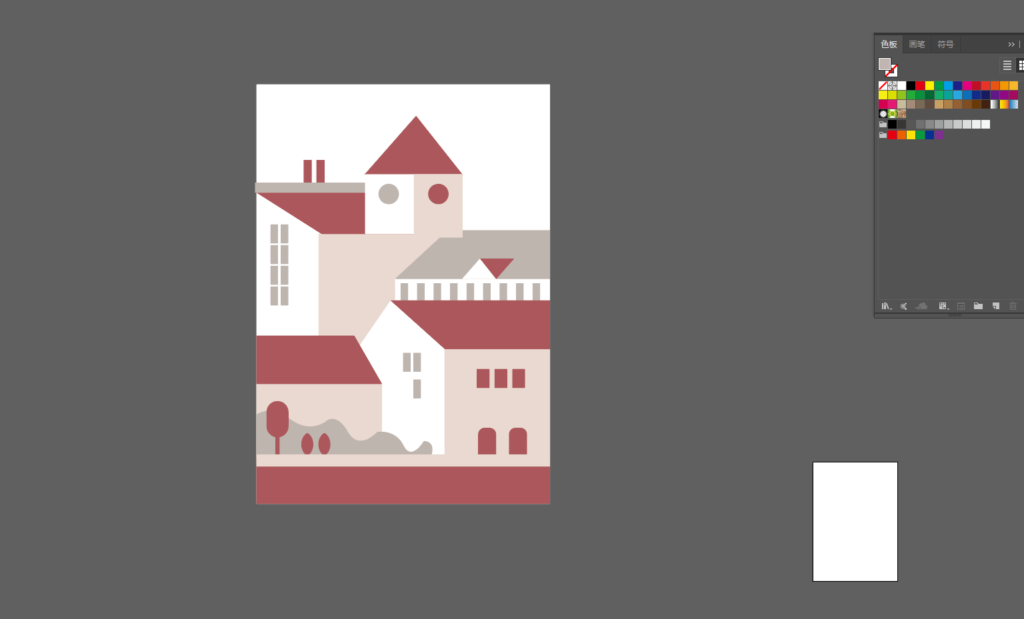
Cartoon is a general term for cartoons and comics. The word originated in Italy during the Renaissance period. The earliest was used as a sketch of murals and oil paintings. Later, because of the humorous way of satirizing some social phenomena in comic magazines, it formed what is called “cartoon” in folklore. , close to the modern understanding. Therefore, cartoons are not only cartoons, but also static cartoons. And many people’s understanding of “cartoon” is from the level of age. They think that cartoons and comics that tend to be children’s level, concise and clear, are cartoons. The author disagrees, but in a broad term, “cartoon style” Such words are easy to understand. In the past, when the author was discussing style with an artist who was engaged in design, she used “this pattern is too cartoony” to complain about the childishness of the picture, but strictly speaking, cartoons and childishness are not childish. It is also inaccurate to regard “cartoon style” as a symbol of childishness and childishness directly.

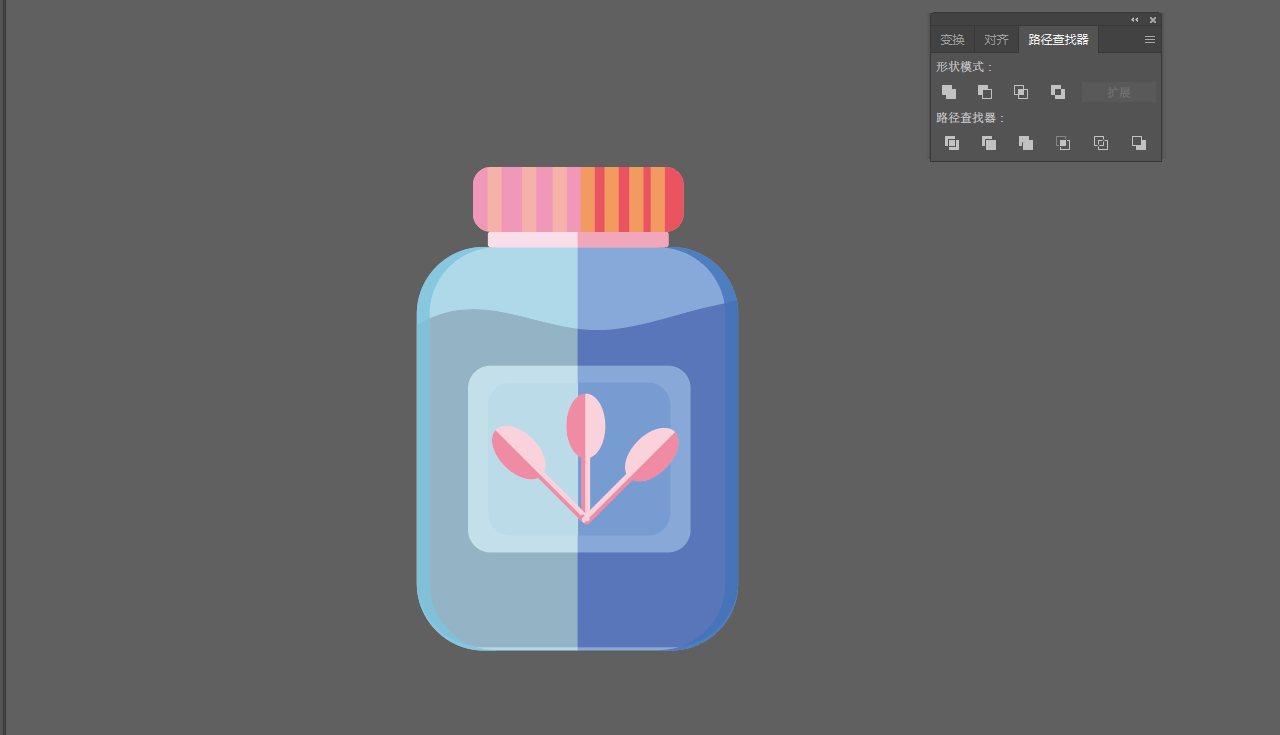
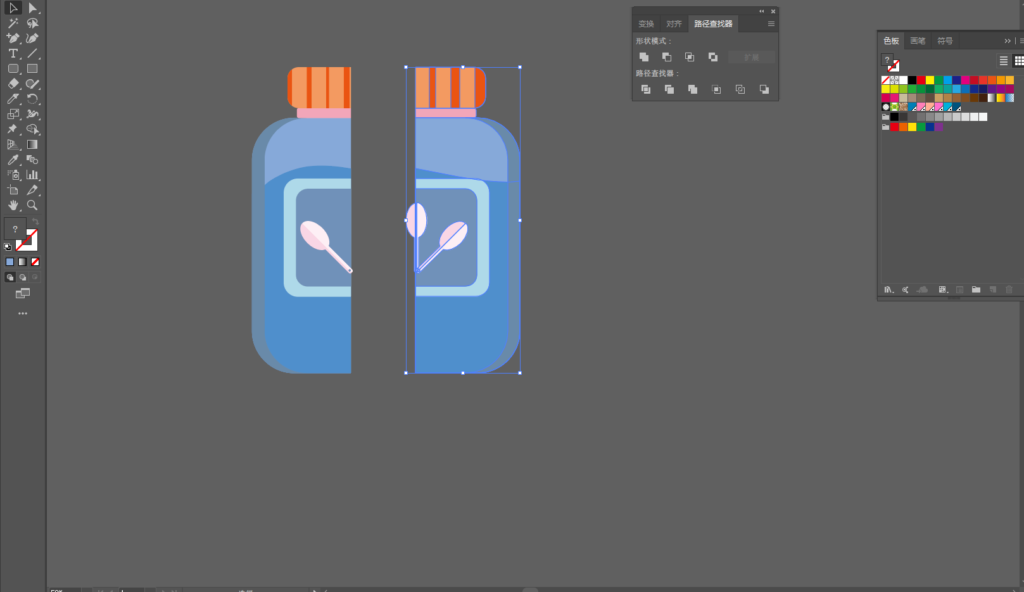
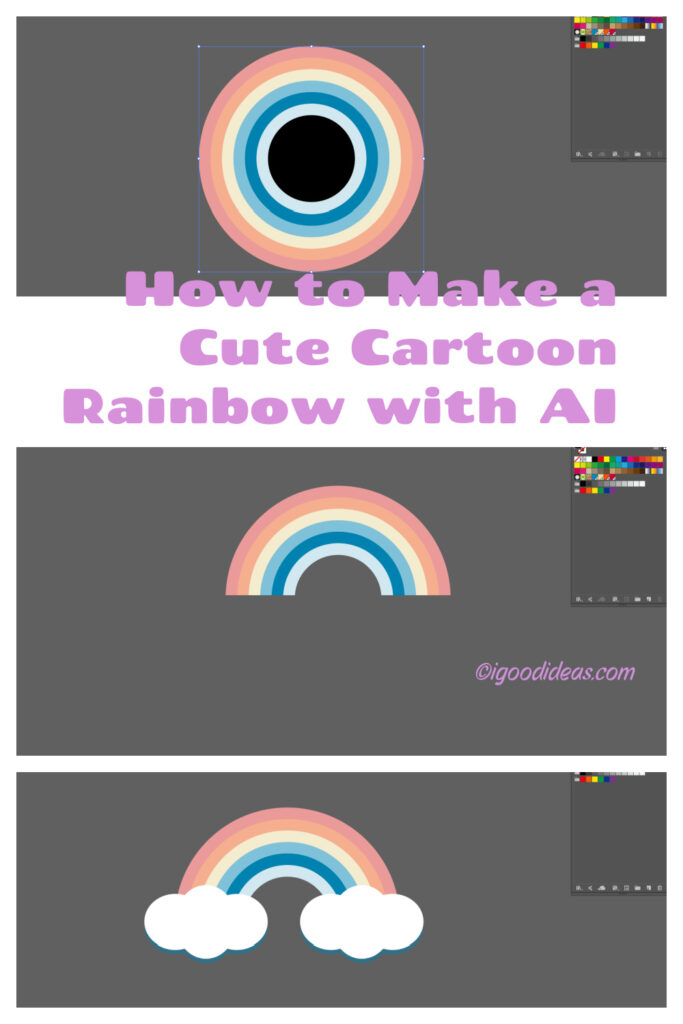
Today we are going to share a tutorial on drawing cartoon characters with AI, which is suitable for beginners


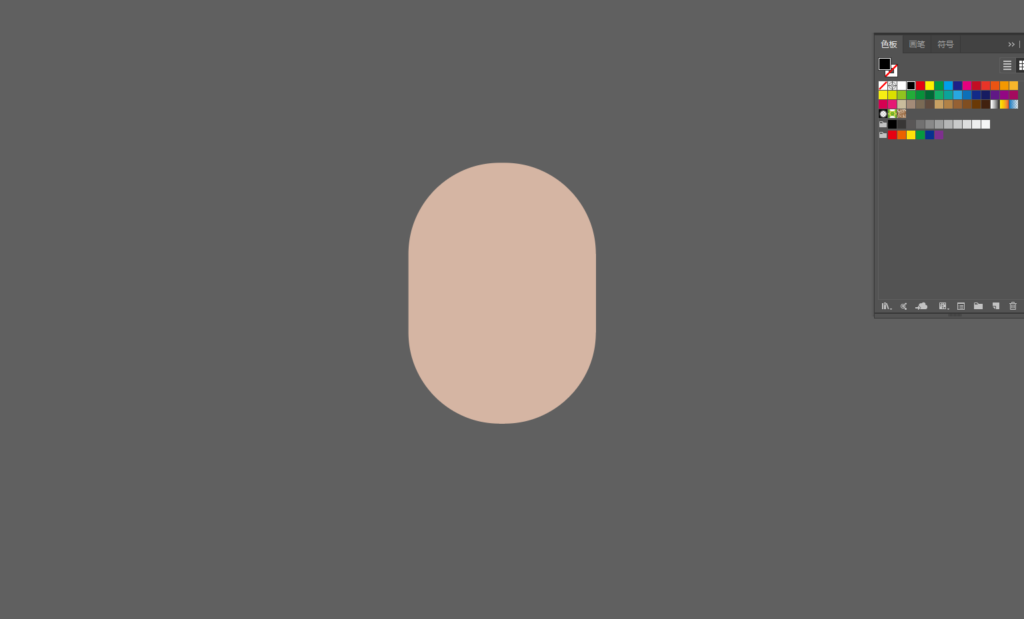
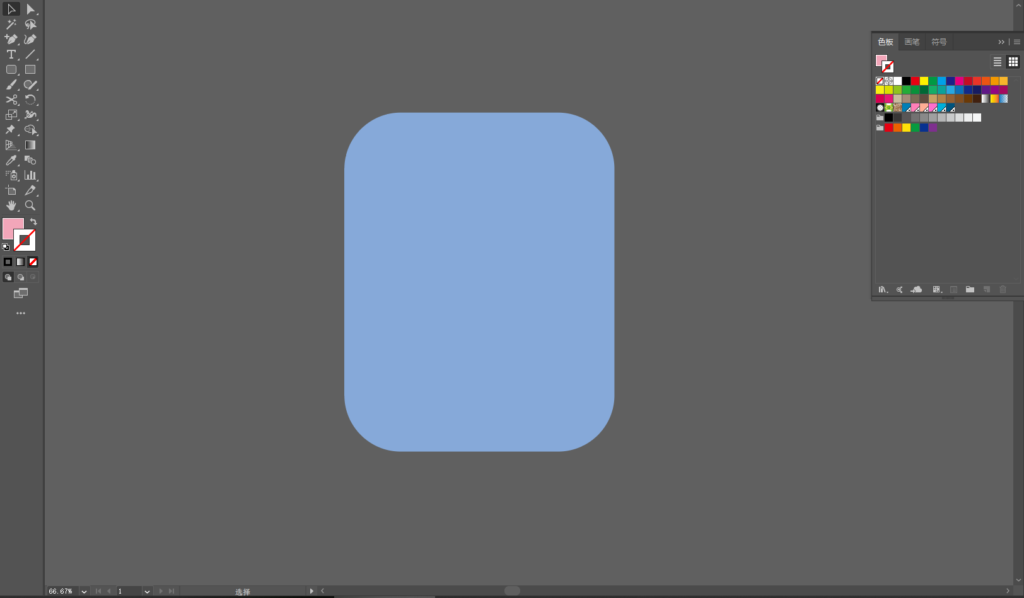
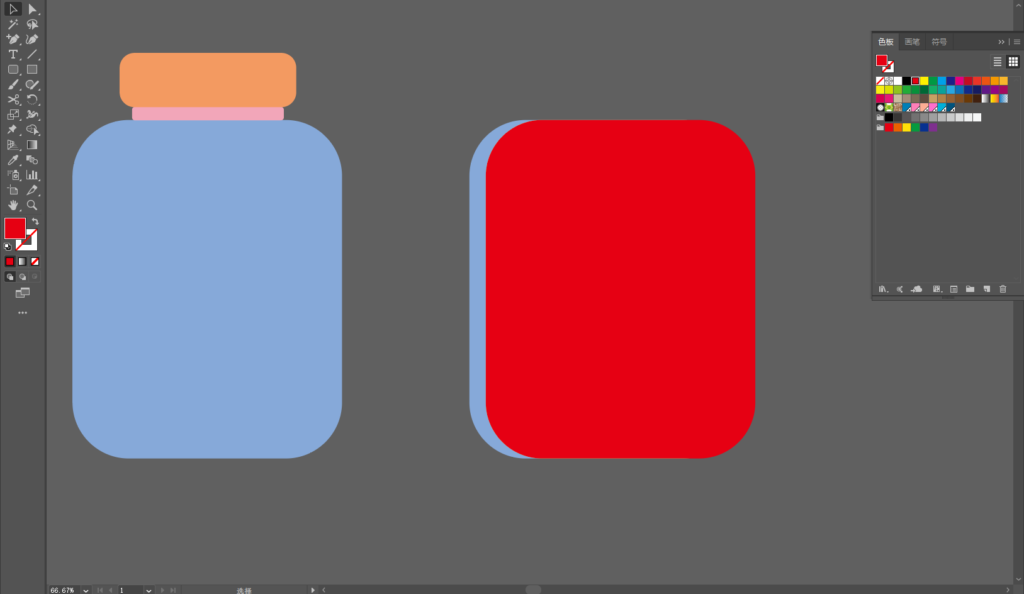
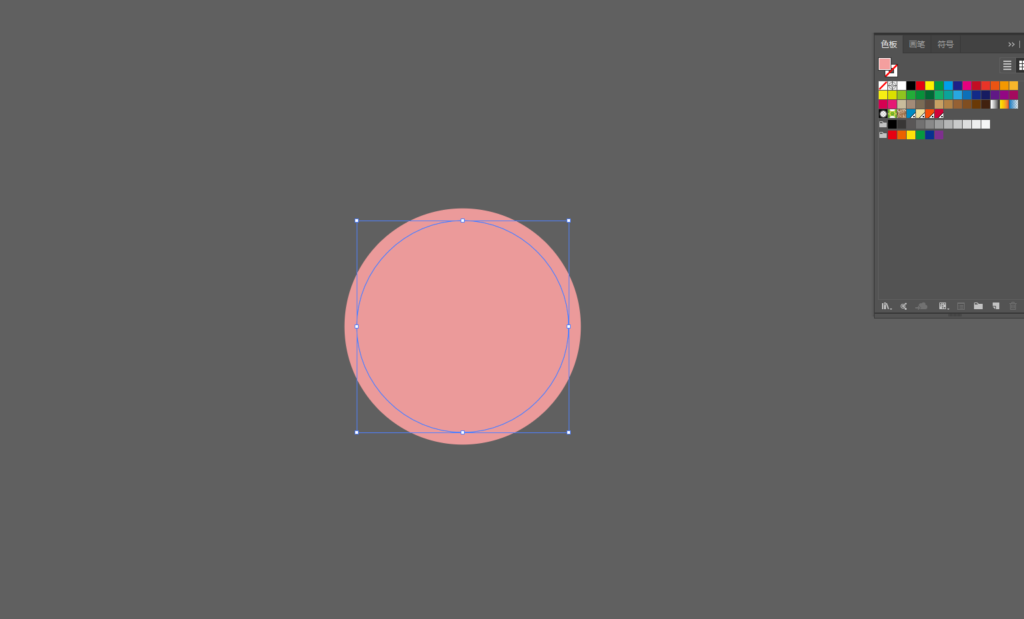
1. First, we use the Rounded Rectangle Tool to draw a round face. 
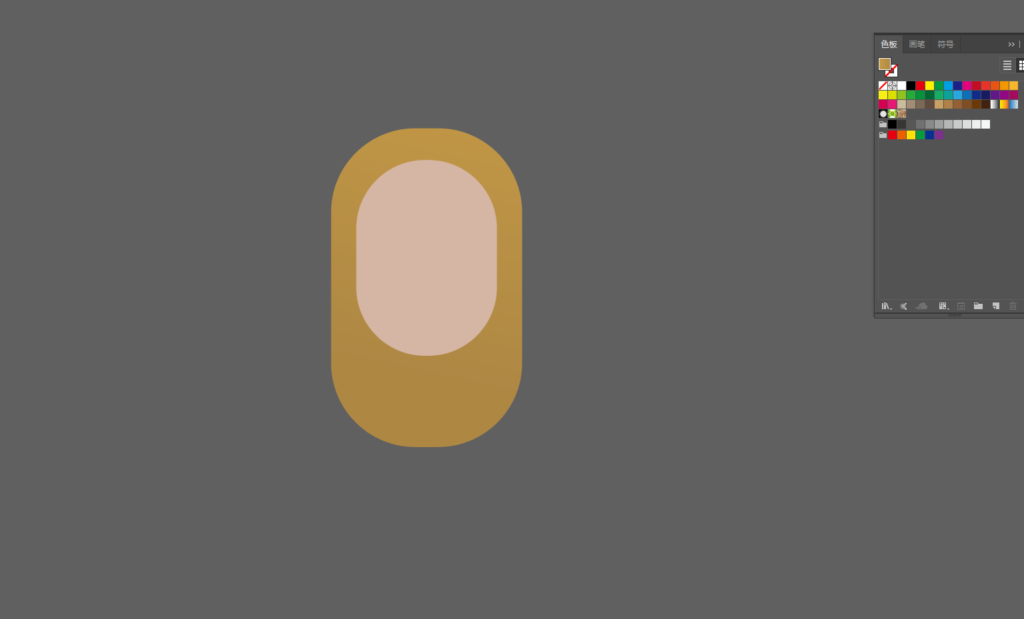
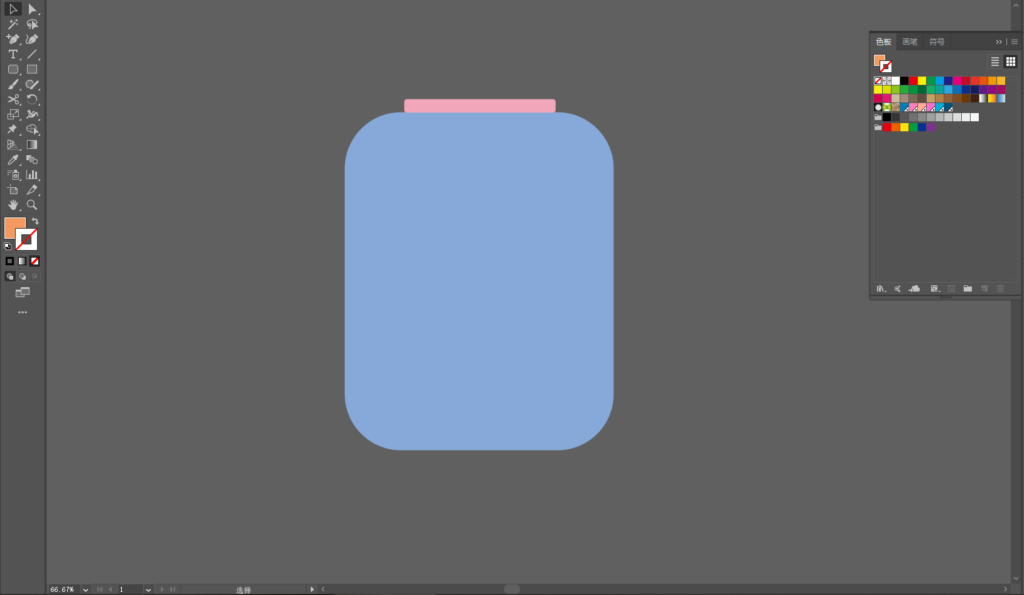
2. Using the Rounded Tool, draw a rounded rectangle for the hair.
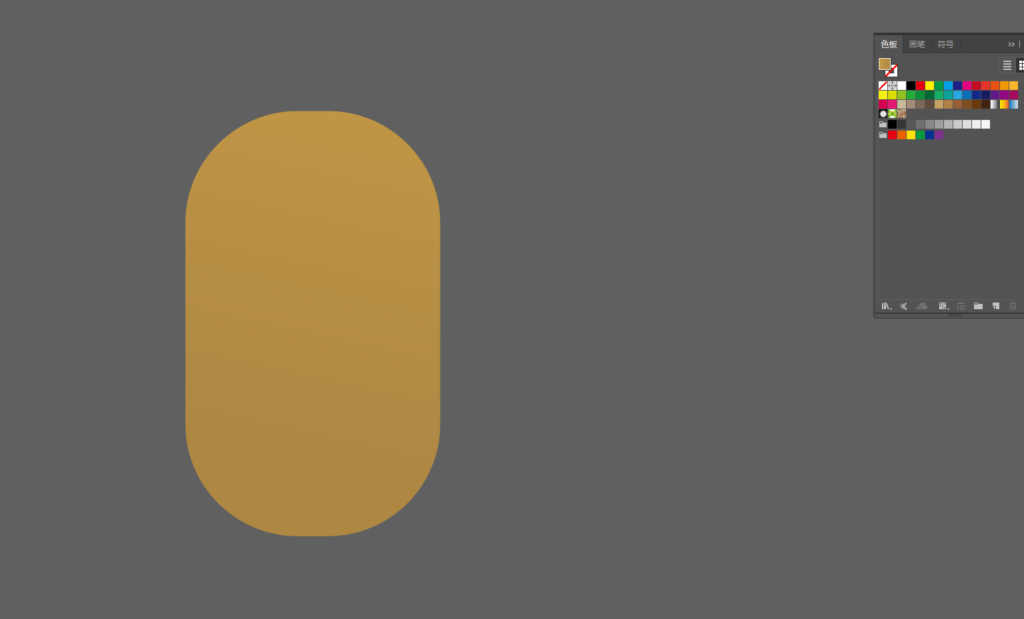
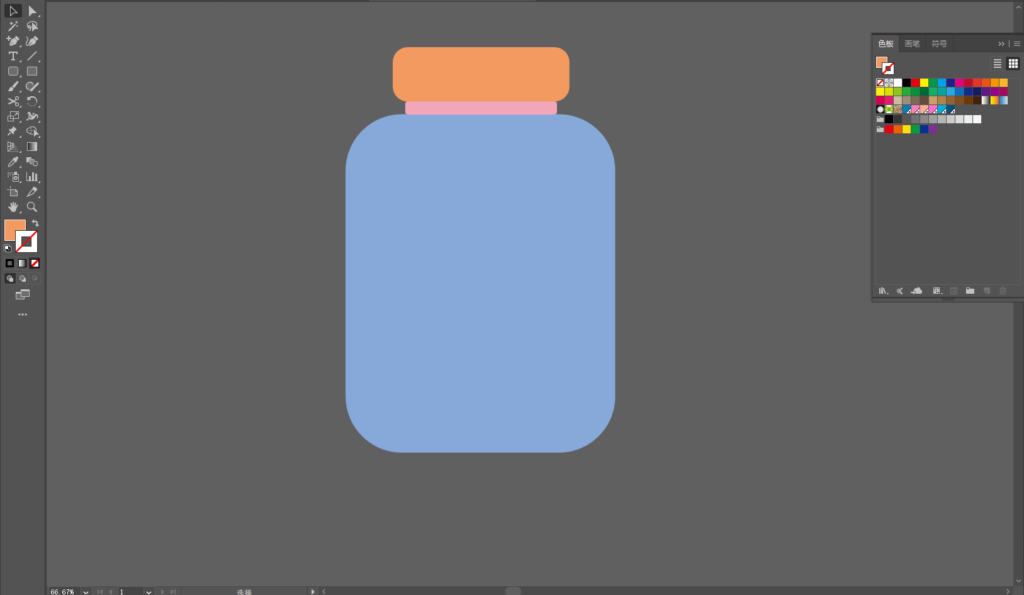
3. Duplicate the hair in place and place it on top. 
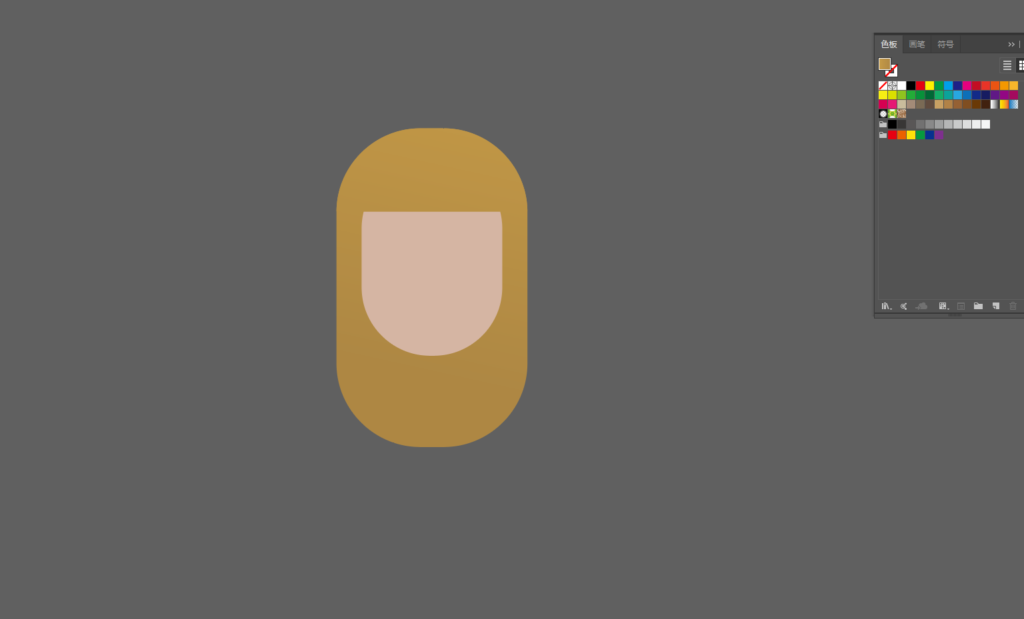
4. Use the eraser tool to erase the lower part, leaving the upper part. 
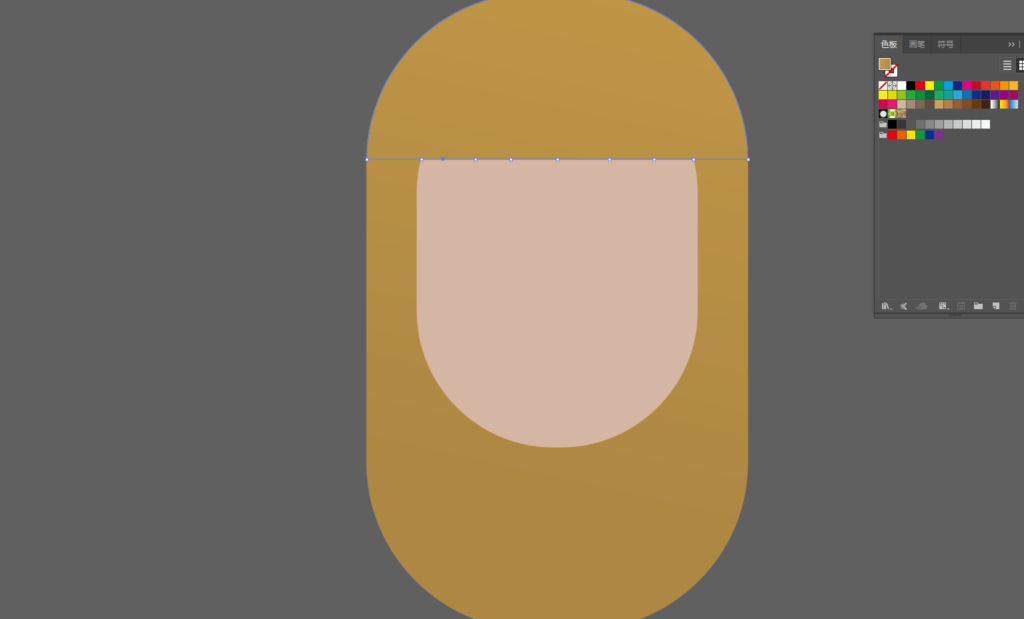
5. Add anchor points to the bangs.  

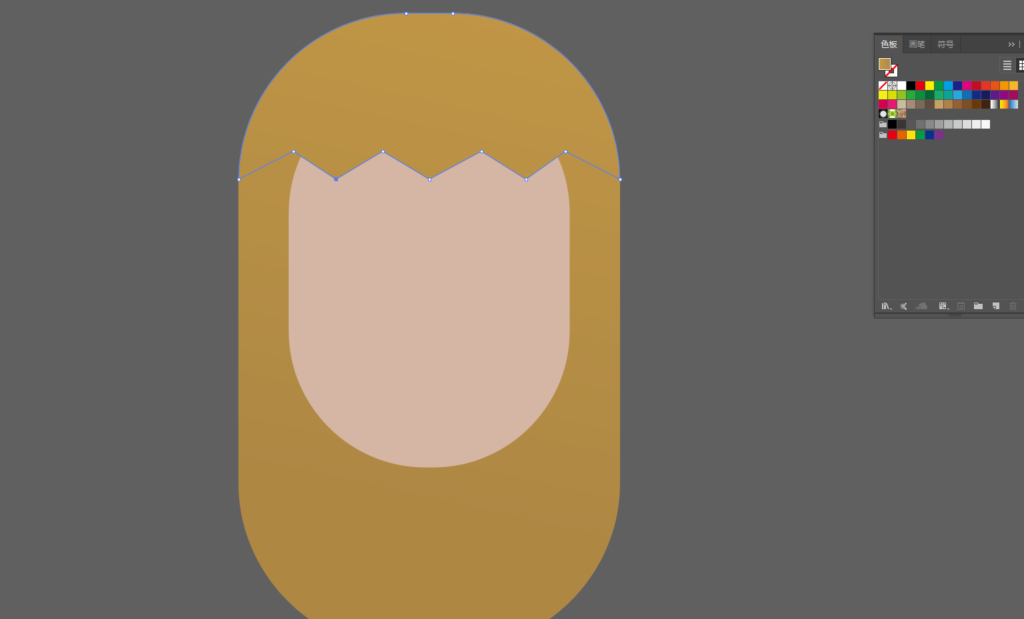
6. Then adjust the anchor points to make wavy bangs.
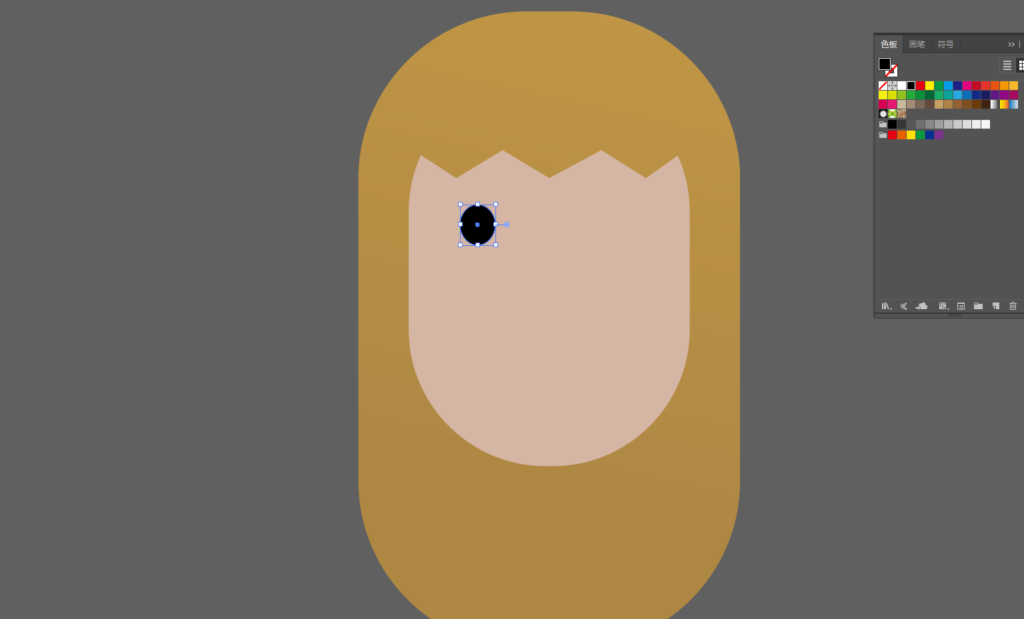
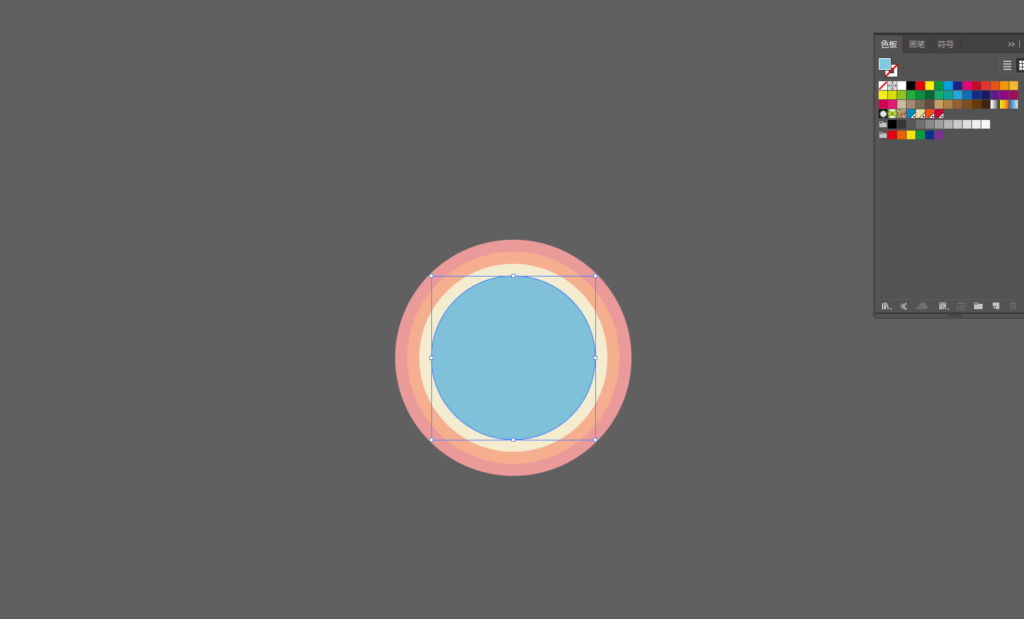
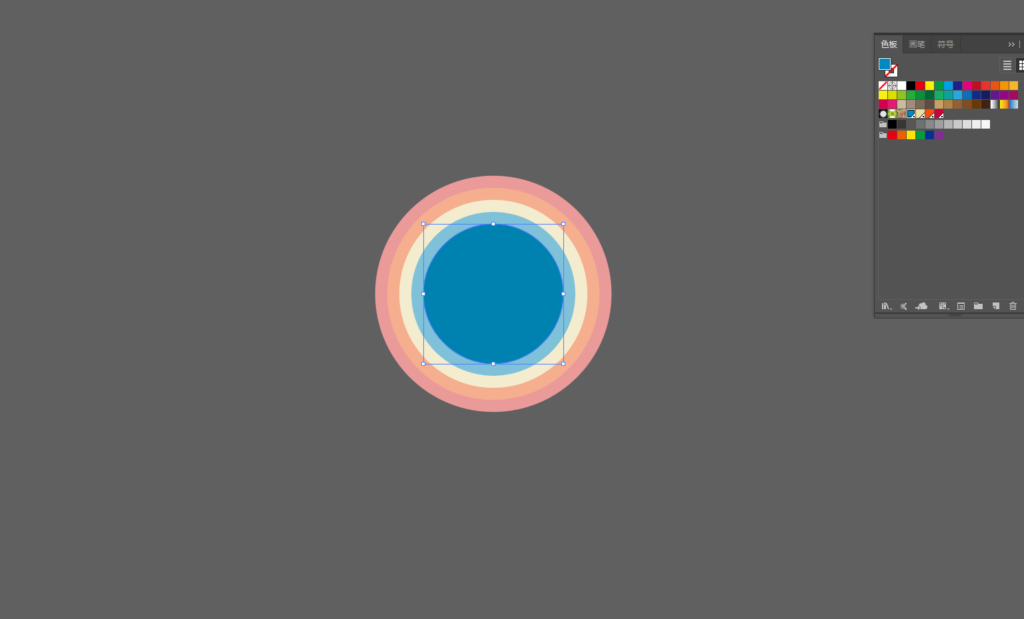
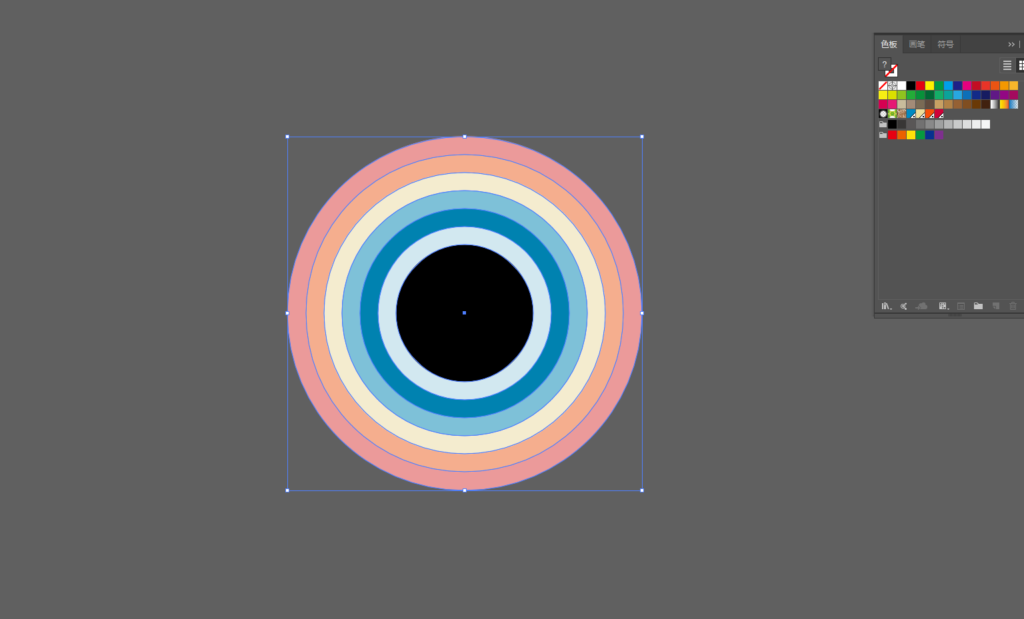
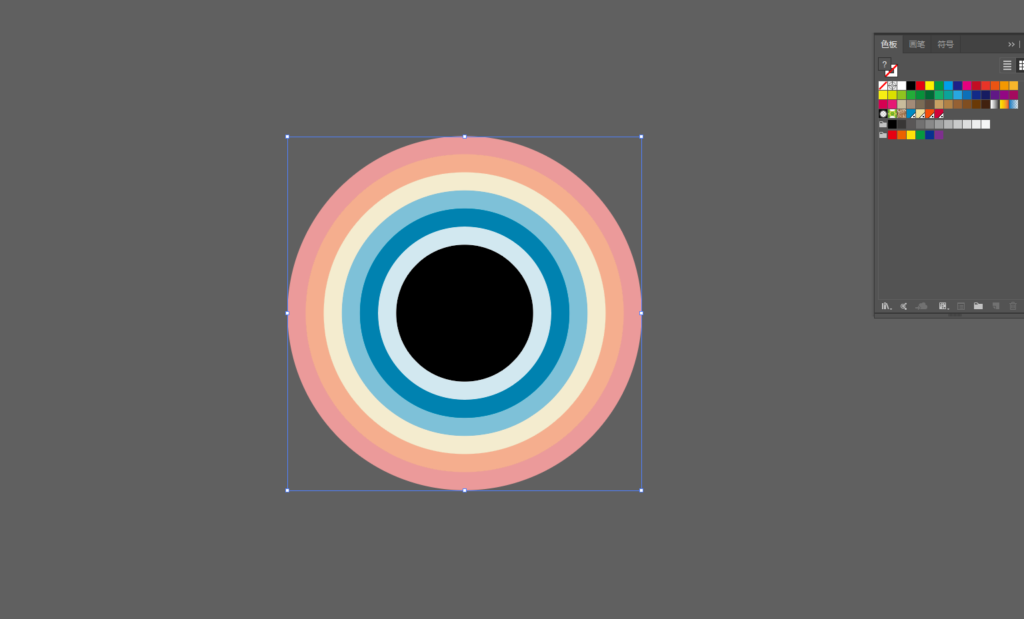
7. Using the Ellipse Tool, draw a circle. 


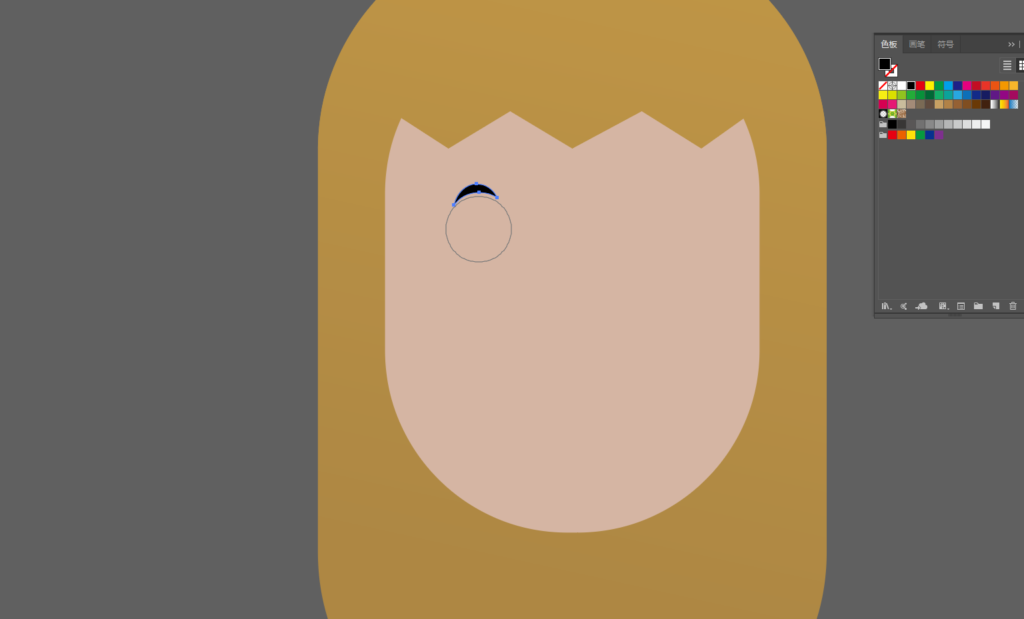
8. Continue to use the eraser tool to erase the eyebrows. 
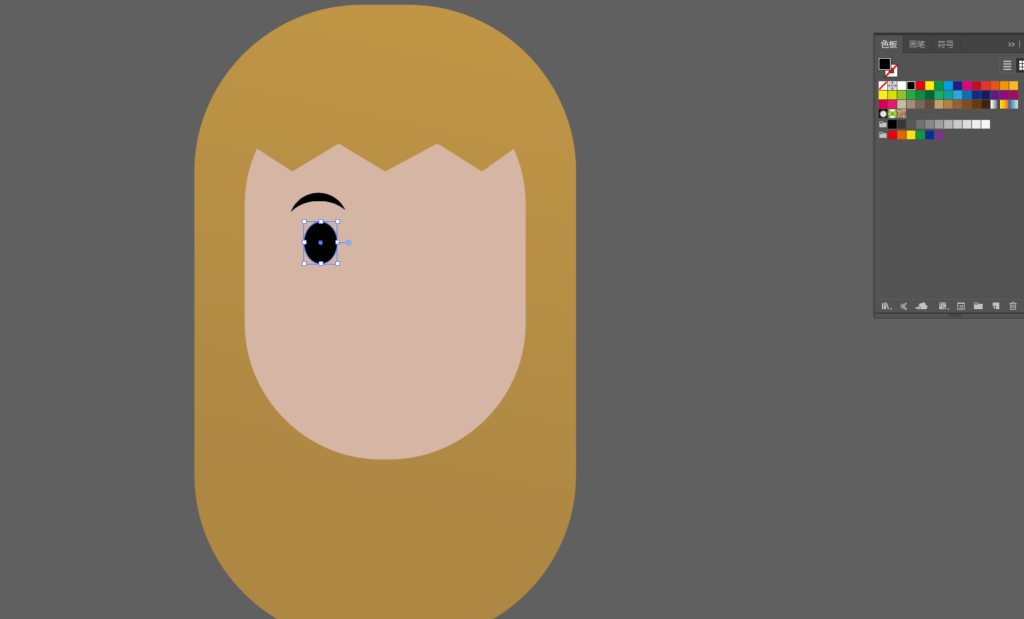
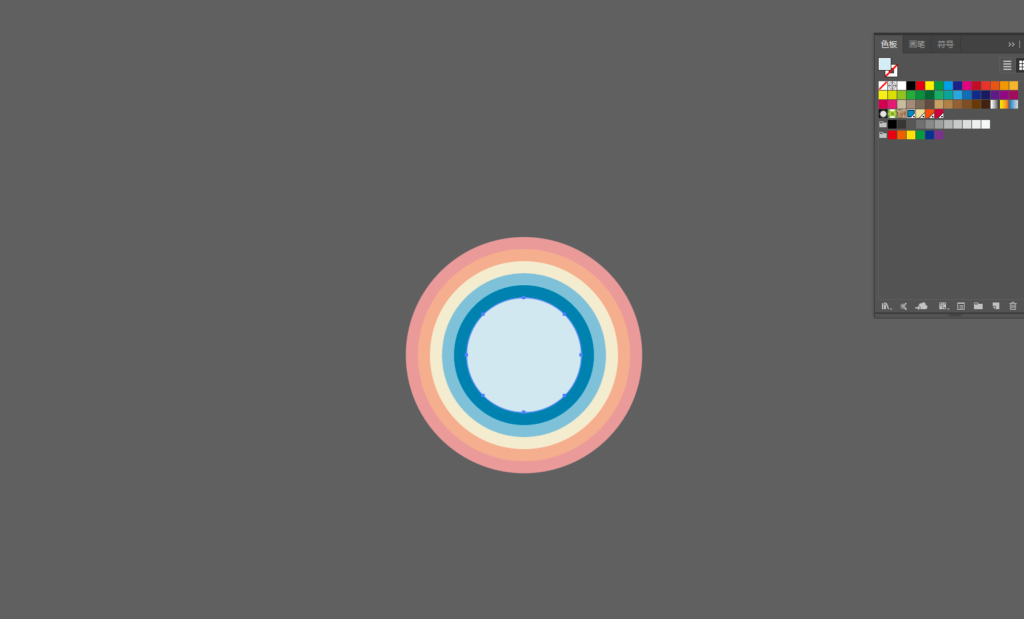
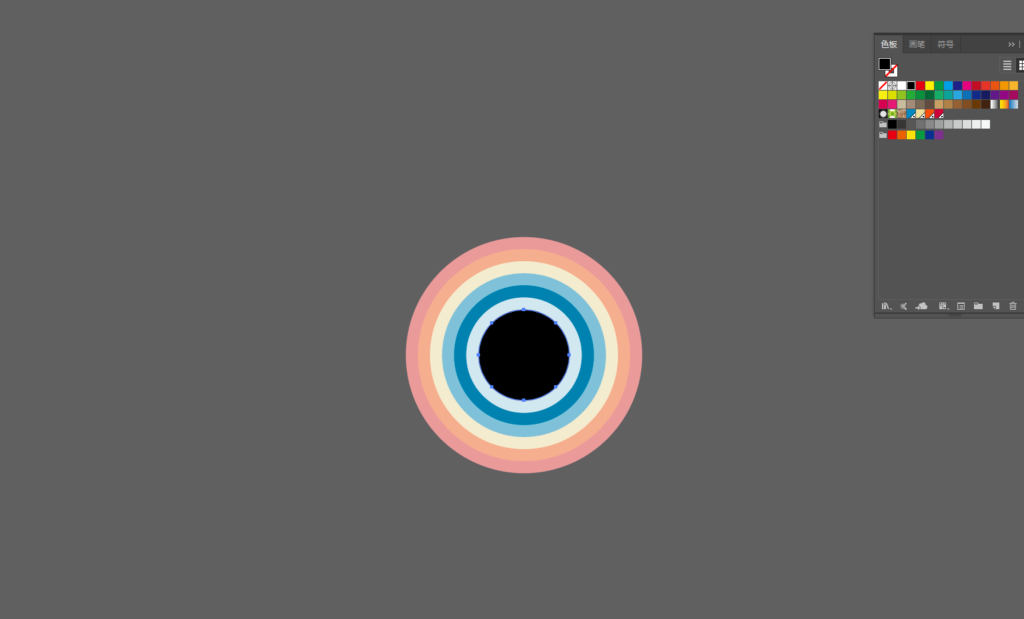
9. Continue to use the oval tool to draw the character’s eyes. 
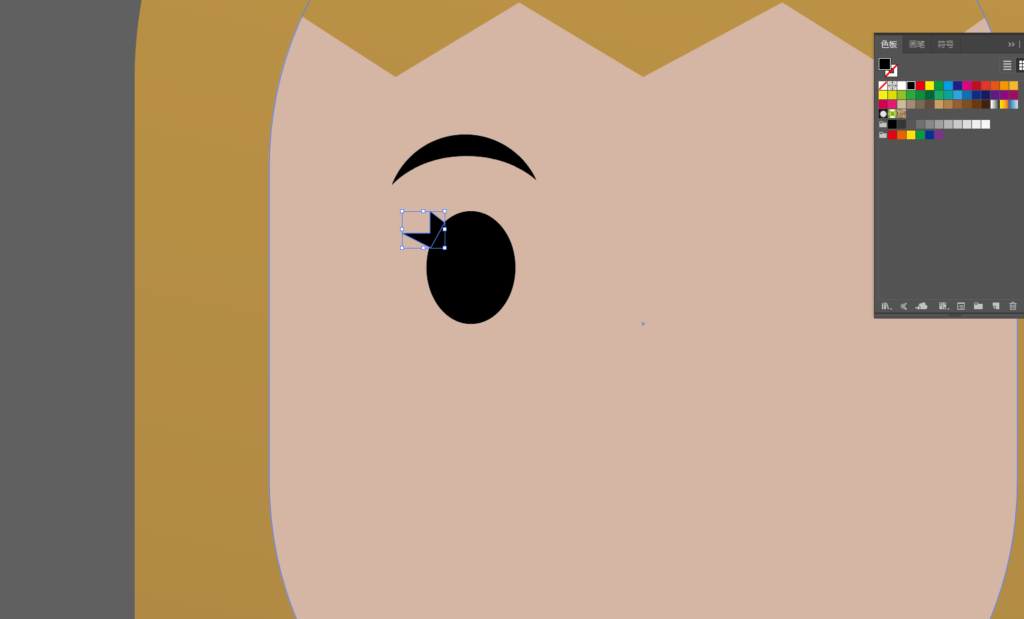
10. Using the pen tool, outline the shape of the eyelashes. 
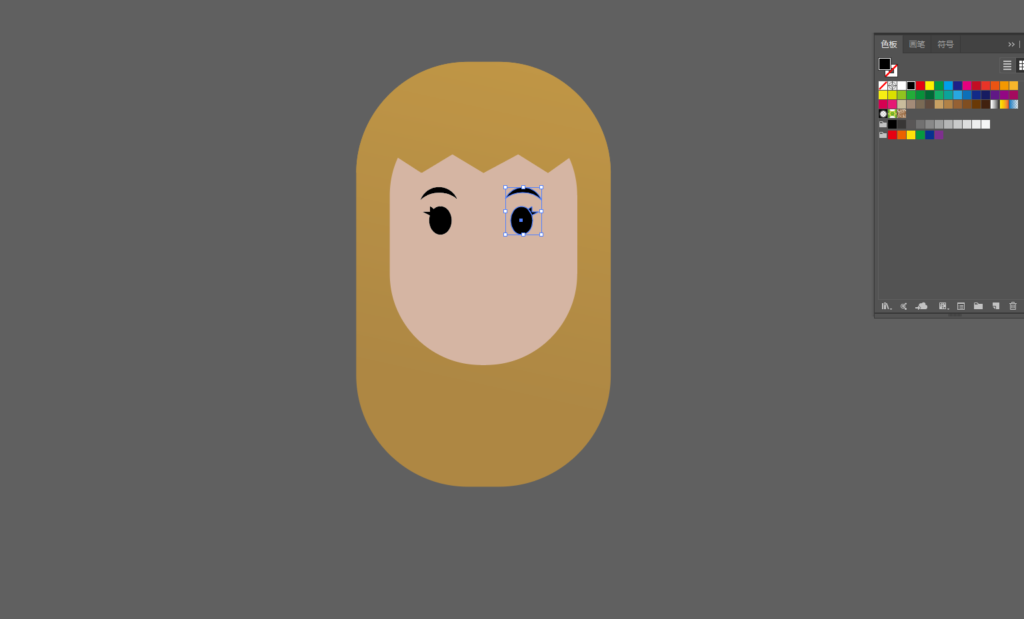
11. Copy the eyebrows, eyes, and eyelashes to the other side, you can use the symmetry tool. 
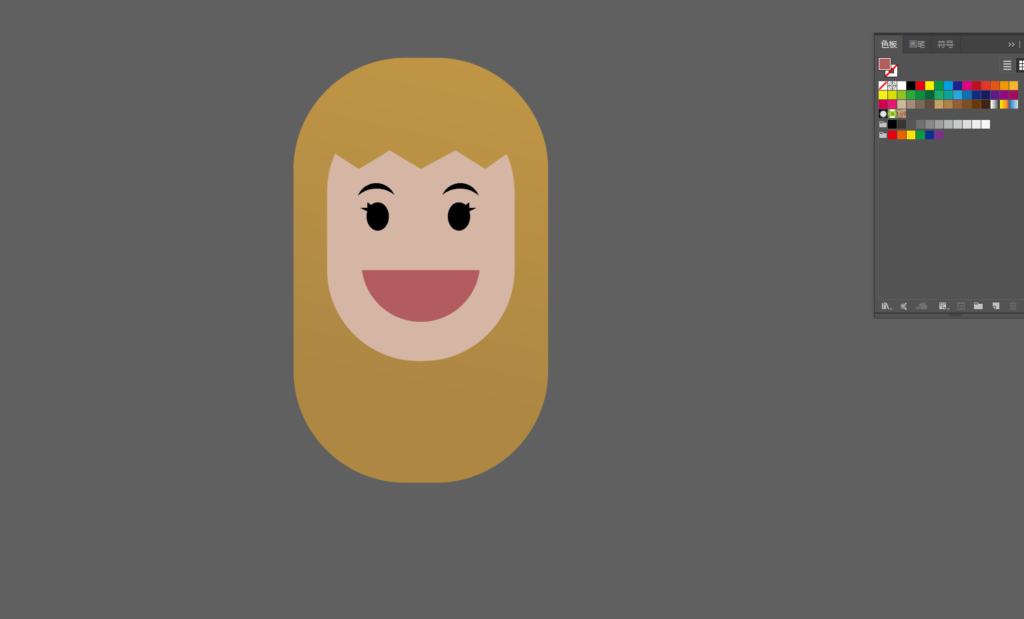
12. Use the Oval Tool and Eraser Tool to draw the character’s mouth. 
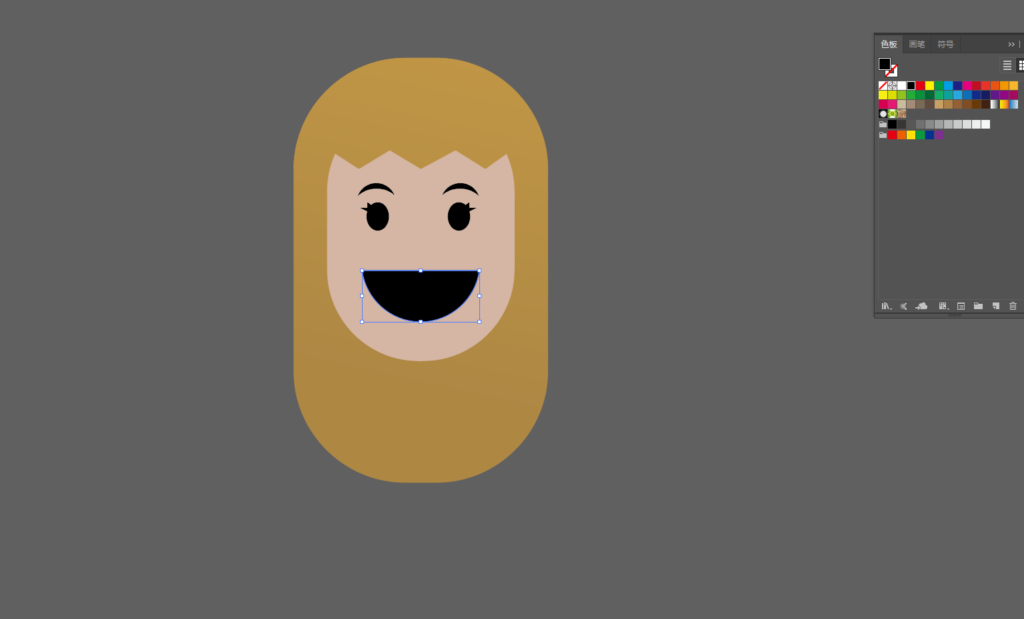
13. Duplicate a mouth in place and fill it with black. 
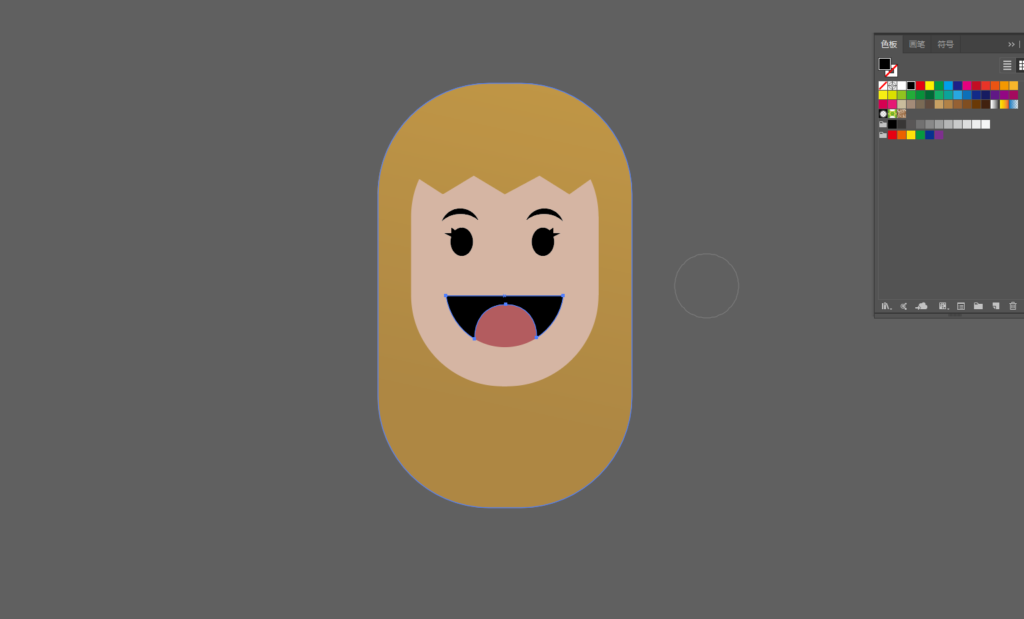
14. Use the eraser tool to erase the appearance of the tongue. 


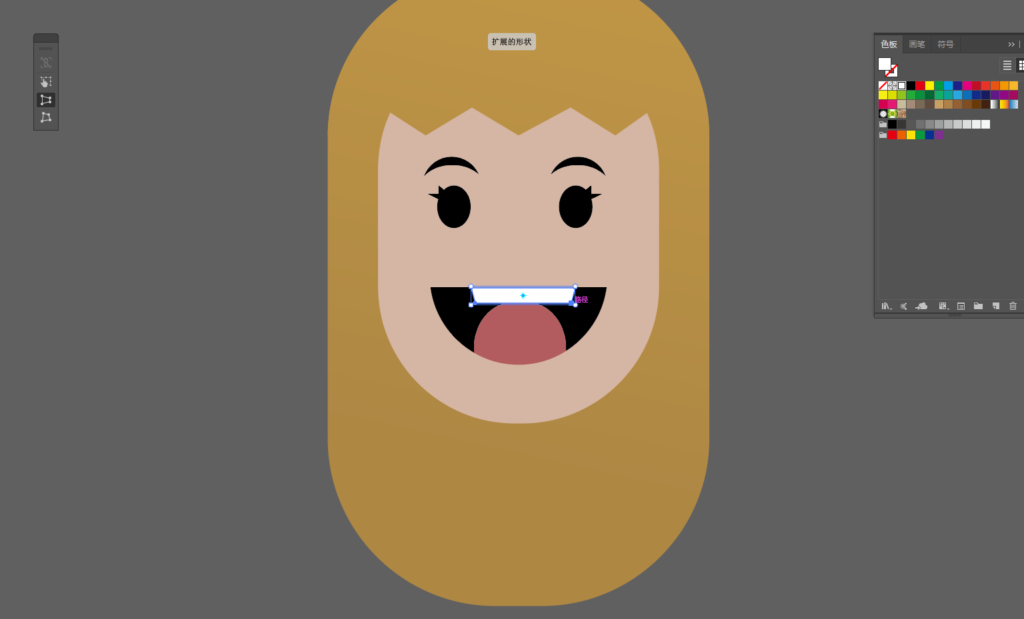
15. Using the rectangle tool to draw the shape of the teeth, you can use the free transform tool to make a trapezoid. 
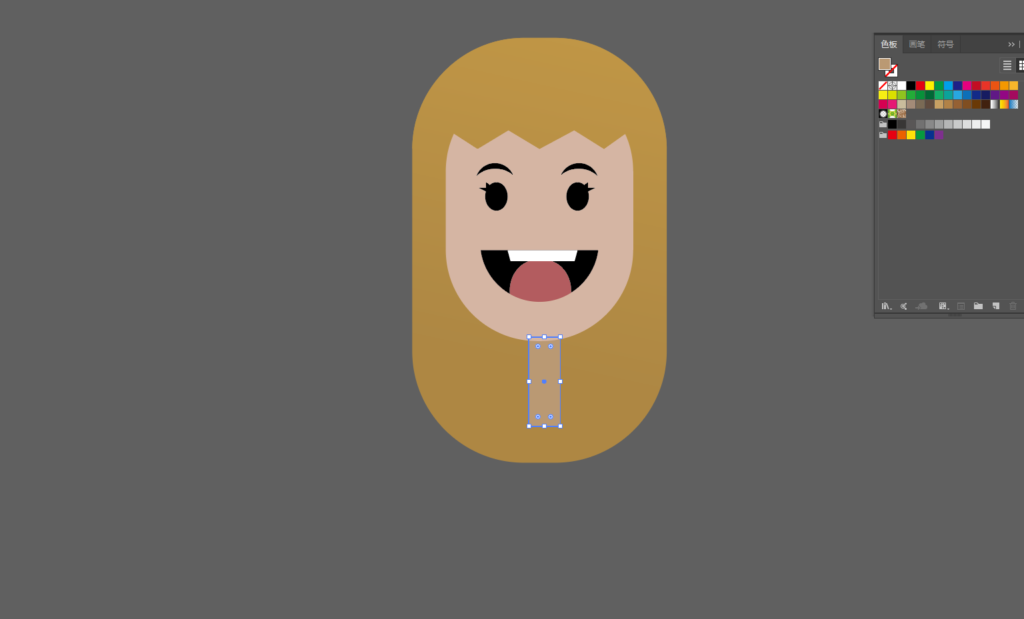
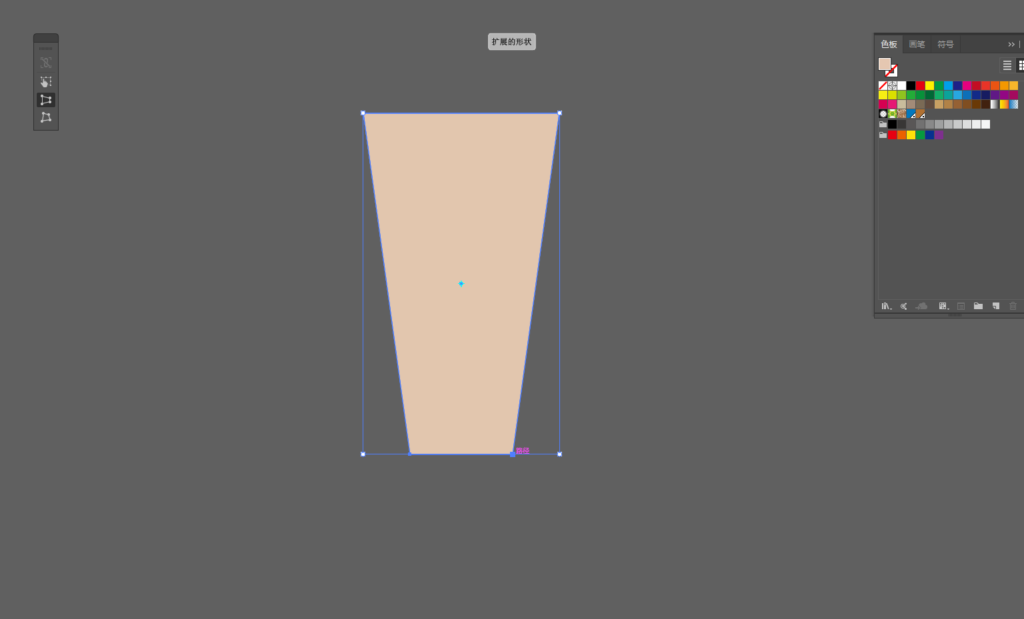
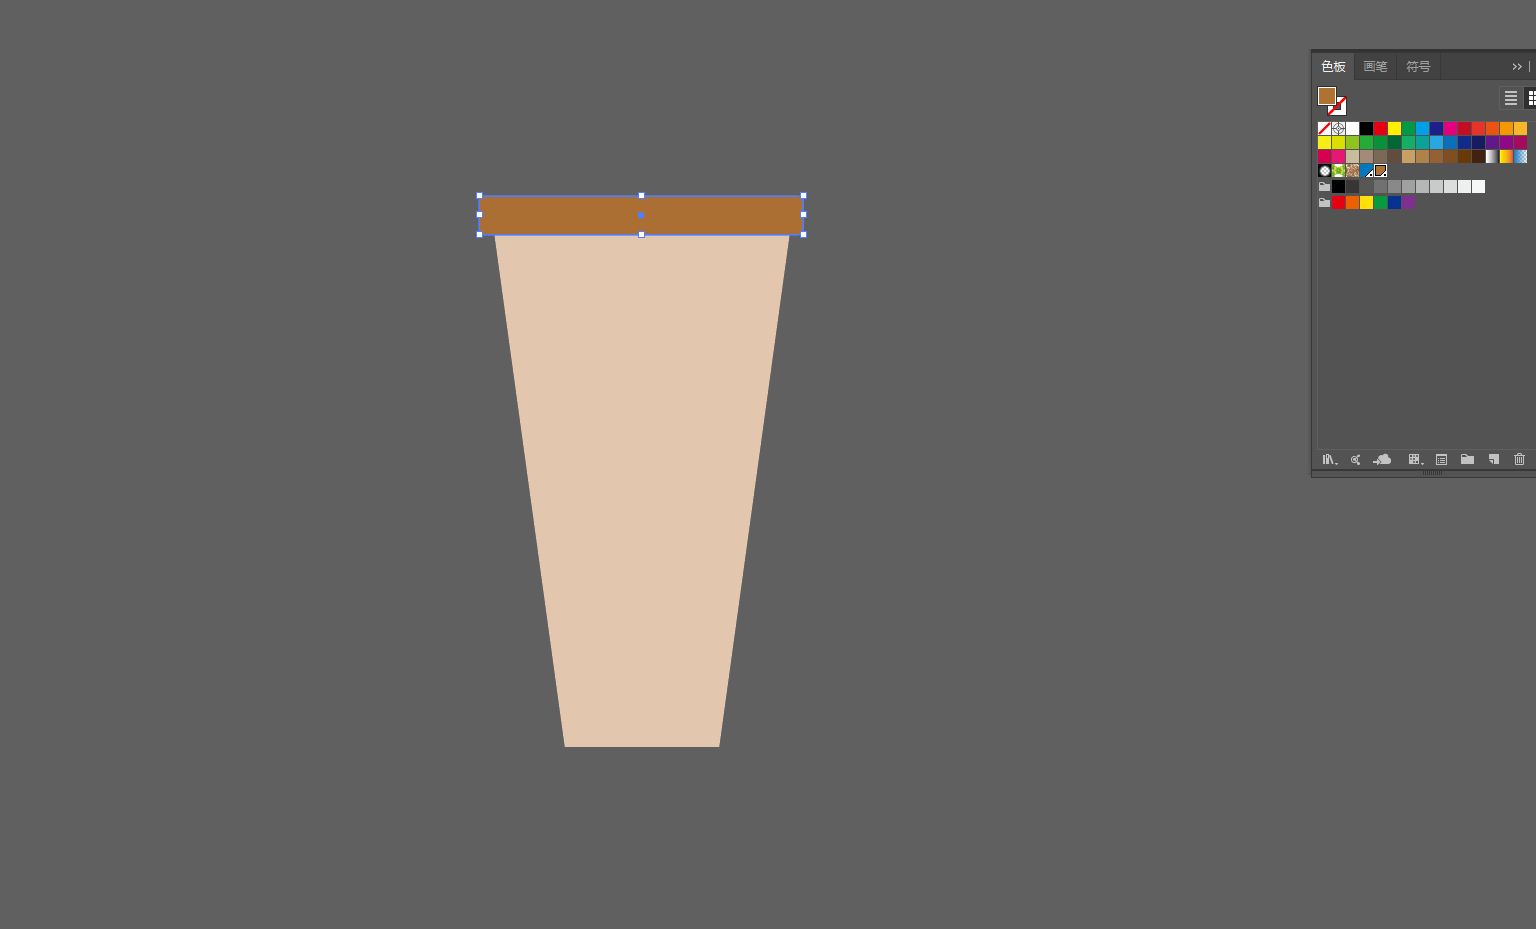
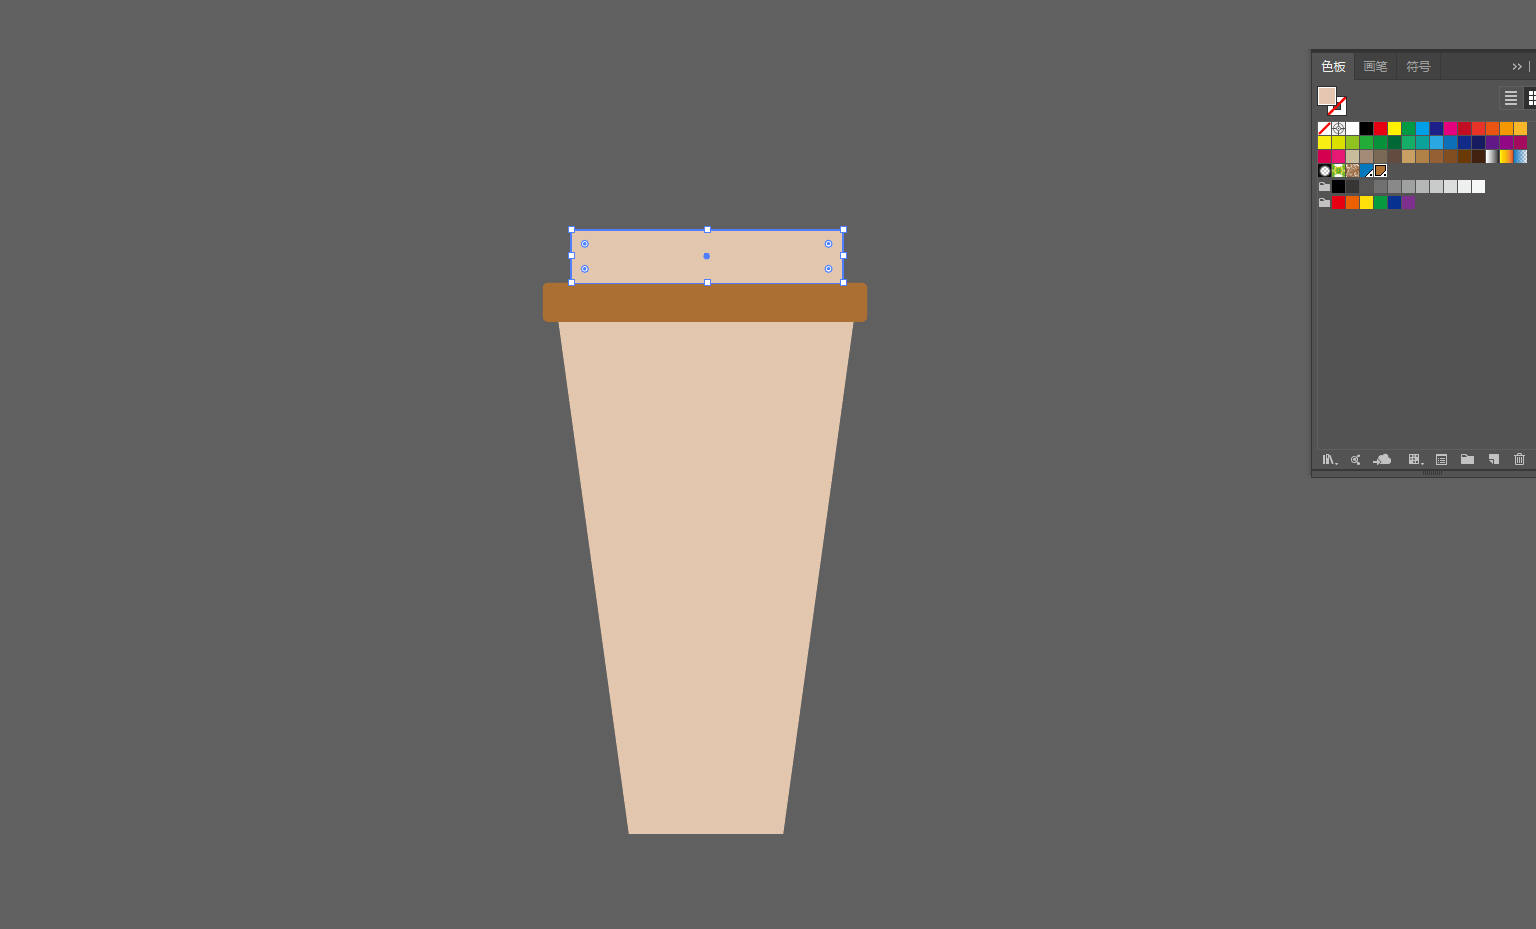
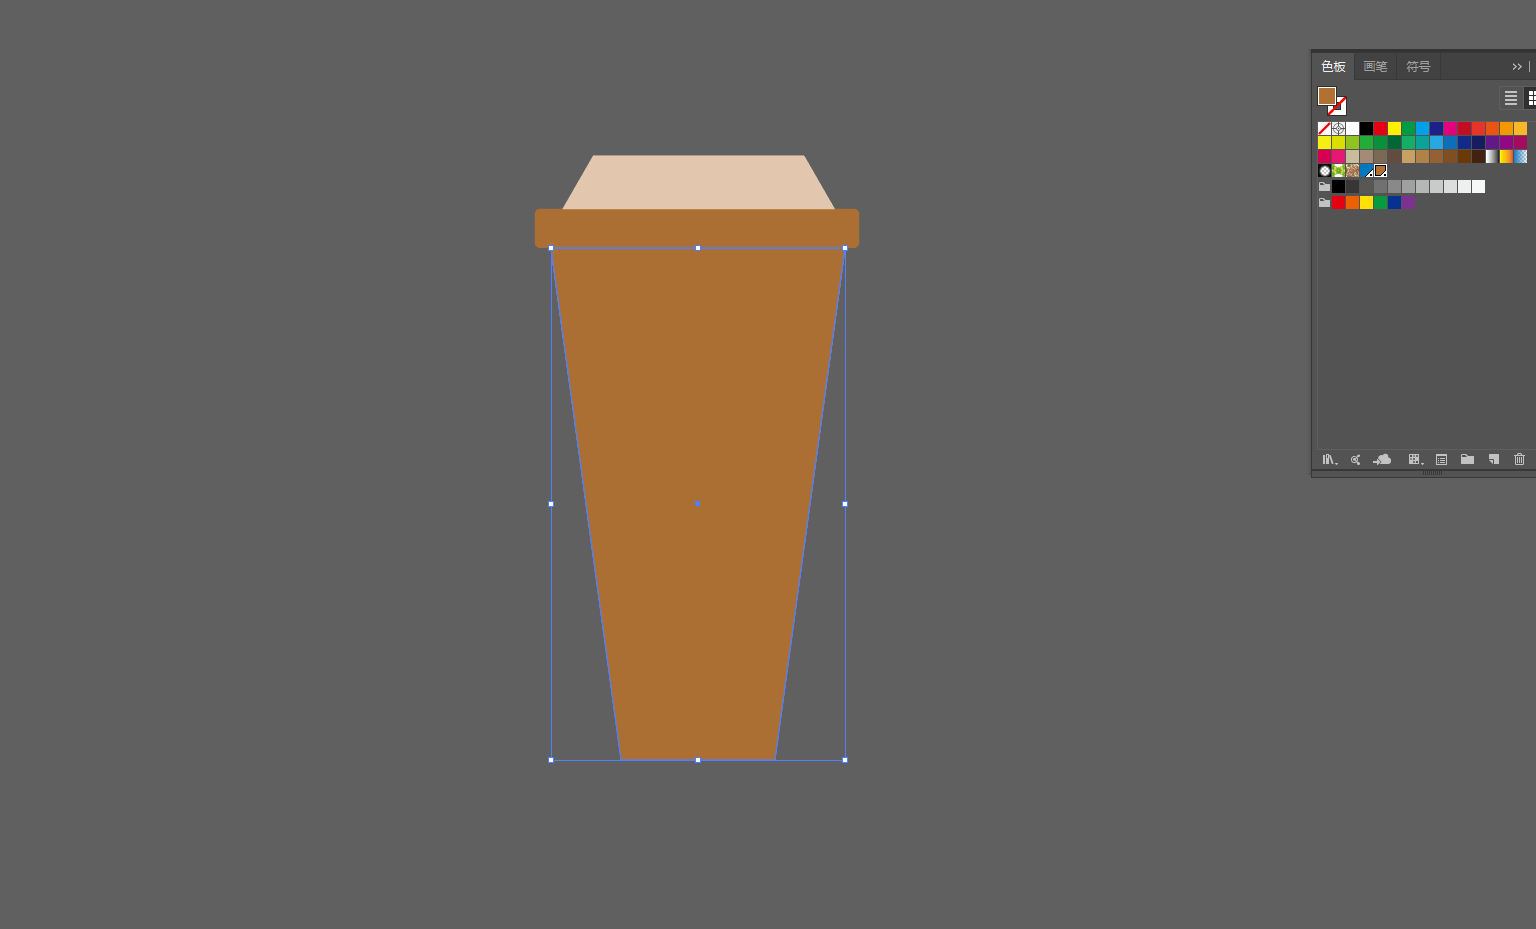
16. Use the rectangle tool to draw the shape of the neck. 
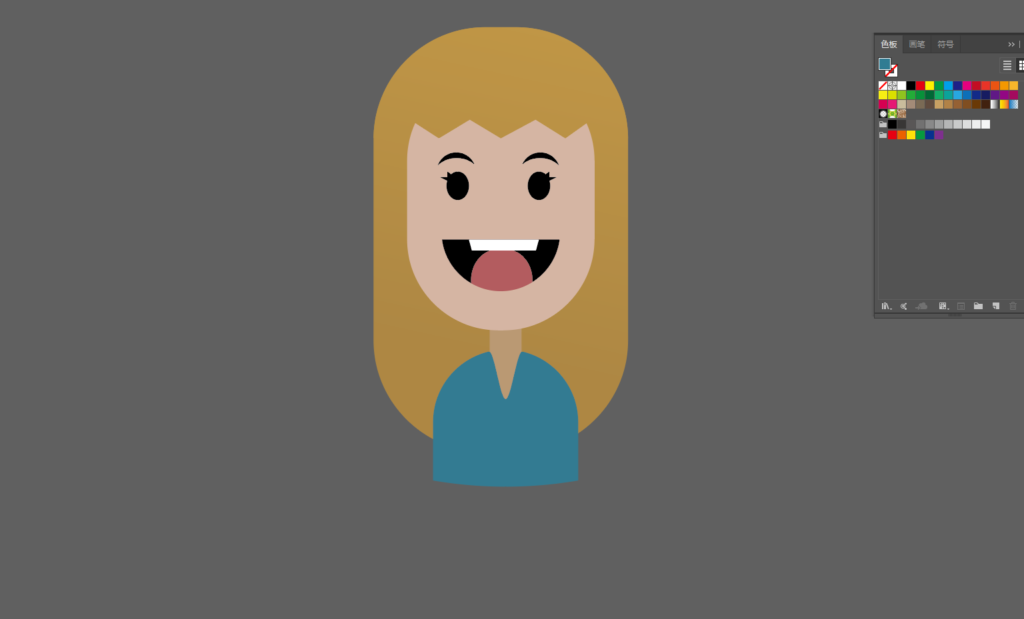
17. Use the Rounded Rectangle Tool again, cut in half, then add anchor points, pull down the order of the anchor points, and make the upper body.  Have Fun!

More good ideas HERE.

Sharing is Caring:

Step by Step Tutorial to Create a Concept Deer with C4D

The essence of C4D software is a 3D design software. As long as it is involved in the production of 3D scenes, products, and visual effects, C4D can be competent. At the beginning of C4D’s existence, it was produced for the later stage of film and television. In the field of film and television design, it is mainly used to build three-dimensional scenes, create character models, and interpret animation ideas…
Today we will use C4D to make a concept deer.


1. First, we use the terrain tool in C4D to build a terrain.
2. Use the FORESTER plug-in to make several different grasses. 
3. Use the clone tool to clone the grass made before, and add random effects. 
4. Making a terrain. Placed behind the previous terrain. 
5. Continue to use the FORSTER plugin to make several trees. 
6. Use the same method of cloning to clone trees, remember to use random effects. Make sure the trees don’t look regular. 


7. We choose several different trees and place them in the woods. 
8. We make or download the model of the deer and place it in the forest. 
9. We use a sphere to make the moon. 
10. Adjust the camera and render settings. Remember to use the fog effect. 
11. A rendering of a mysterious concept deer is ready.  Have fun!

You may also like: AI for Making Flat Style Bottle Illustration

MORE GOOD IDEAS HERE.

Sharing is Caring:

AI for Making Flat Style Bottle Illustration

What are the characteristics of flat style illustration? Flat style illustrations show a flat or abstract feature, with obvious geometric features in the performance of the outer contour, high generality, a lot of details are deleted, and many three-dimensional features are removed. The style is changeable, it can be cute and childish, or it can be exaggerated or delicate. Flat-style characters generally do not show muscles, or muscles are presented in regular and smooth lines. The facial features are also very simple, and the proportions are more flexible and exaggerated, with a sense of design decoration, which can form a more intense picture effect. Mainly used in fashion magazines and children’s books. This kind of illustration production cycle is short, the effect is outstanding and eye-catching, and it has good dissemination.

Today we are going to make a simple bottle illustration. The style of production is flat style. The software we need to use is AI (Adobe Illustrator).

1. We first open AI and draw a rounded rectangle with the Rounded Rectangle Tool, as shown above.
2. Use the rounded rectangle again, and draw a small rounded rectangle on top of the previous rounded rectangle. 
3. Using the Rounded Rectangle Tool, draw a bottle cap. 
4. Duplicate a rounded rectangle from photo 1. 
5. Then duplicate a rounded rectangle. and move parallel to one side. 
6. Use the Pathfinder tool to subtract the two rounded rectangles to get the following shape. 
7. Change the color of the shape obtained in Figure 6 to a slightly darker color. 
8. Paste the shape parallel to the rounded rectangle. 
9. Copy one parallel and symmetrical horizontally. 
10. Draw a new rounded rectangle in the middle of the bottle. 
11. Draw another rounded rectangle. 
12. Put the decorations in (you can choose the soup spoon made before). 
13. Copy a rounded rectangle in place and change the color. 
14. Use the eraser tool to erase a curved shape. 
15. Delete the top part of the shape. 
16. Select the bottle cap. and replicated in situ. 
17. Change the cap color. 
18. Use the eraser tool to erase to make a texture. 
19. Select the entire bottle. 
20. Use the knife tool to divide the bottle into two, in order to facilitate the coloring. 
21. Then adjust the color of each part.  Enjoy!

You may also like: How to Make a Cute Cartoon Rainbow with AI

MORE GOOD IDEAS HERE.

Sharing is Caring:

How to Make a Cute Cartoon Rainbow with AI

Rainbow is an optical phenomenon in meteorology. When sunlight hits water droplets in mid-air, the light is refracted and reflected, forming an arched colorful spectrum in the sky, from the outer circle to the inner circle, showing red, orange, yellow, Green, blue, indigo, purple seven colors. There are actually an infinite number of colors in the rainbow, for example, there are many more subtle differences between red and orange, but for the sake of simplicity, only seven colors are used as distinctions.
In fact, as long as there are water droplets in the air and the sun is shining at a low angle behind the observer, an observable rainbow phenomenon may occur. Rainbows most often appear in the afternoon, just after the rain, when the sky turns clear, when there is less dust in the air When full of small water droplets, one side of the sky is darker because there are still rain clouds, and the observer is no longer obscured by clouds above or behind the observer’s head and the sunlight is visible, so that the rainbow will be easier to see. Another place where rainbows are often seen is near waterfalls. In clear weather, spraying water or spraying water mist in the air with your back to the sun can also create artificial rainbows.

Who doesn’t love a colorful rainbow? Although we can’t see it often, we can use AI to simply make a cute Cartoon Rainbow. Let’s get started now!

1. First use the oval tool to draw a garden and fill in the color you like. 


2. Using the Offset Path tool, select a negative value for the displacement and offset it inward. And fill in your favorite color. 
3. Repeat the previous step and fill in the color you like. 
4. Repeat the previous step and fill in the color you like. 
5. Repeat the previous step and fill in the color you like. 
6. Repeat the previous step and fill in the color you like. 
7. Repeat the previous step, you can choose any color here. 
8. Select the entire screen. 
9. Use the Split function in Pathfinder to split all layers. 
10. Select the middle two layers. 
11. Use the “Subtract Top” feature in Pathfinder. 
12. Select all layers. 
13. Using the eraser tool, hold down the SHIFT key and erase a line in parallel at a suitable position. 
14. Delete useless parts. 

15. Use the oval tool to draw small clouds.
16. Select the entire small cloud, copy a layer, and place it under the cloud as a shadow.


17. Duplicate one and place the 2 clouds in the appropriate positions. That’s it! Enjoy~~

You may also like: Office Furniture Design Tutorial

Sharing is Caring:

How to Design a Keyboard by C4D and PS.

Today we are going to design a keyboard that is realistic. The tools we need are C4D and PS. A keyboard is an instruction and data input device used to operate computer equipment, and also refers to a group of function keys (such as typewriters, computer keyboards) that are arranged to operate a machine or equipment through a system. In simple terms, a keyboard is an input device for a computer, consisting of an array of key switches.

1. First, we use C4D to make the model of the keyboard. First of all, we first make a bottom axis of the keyboard, because the bottom axis of the keyboard is almost the same, so we only need to do one, and the others can be copied.


2. We copy the finished bottom axis into several pieces and sort them according to the keyboard order.

3. In order to pursue the details, we will also make the axis of the keyboard. And it is arranged according to one axis of each bottom axis. 
4. We insert the shaft into the middle of the finished bottom shaft.
5. After doing this, we also need to make the keycaps of the keyboard. And also sort by sort. 
6. Let’s hide the axis series first. We make a base according to the appearance of a real keyboard. At this time, we can refer to the real keyboard to make the base. 
7. Then we put the finished shaft series into the base and adjust the position appropriately. Of course, everything is in the calculation. 
8. We will perform subdivision surface operations on these well-made parts. 
9. Next, we should use PS software to make the letters on the keyboard. At this time, you can export the UV texture map and put it into PS. 
10. We will fill in the letters in the UV texture map in the actual order. And export black and white images.  11. We put the finished keyboard on a plane in C4D.
12. We set up the light and put the previous black and white image into the material. 
13. Adjust the angle of the camera to find the one you need. 

14. You can adjust different lights, angles, and various rendering values ​​to achieve your ideal look. Of course, on this basis, you can add some breathing lights, or decorative lights.

Now that you have finished designing your own keyboard, have fun!

MORE GOOD IDEAS HERE.

Sharing is Caring:

How to Design a Cartoon House by AI

We shared how to use AI to design coffee cups last week, and it was a relatively simple tutorial. Today, we will use AI tools to design a Cartoon House, this is a slightly more complicated project. We hope you like it.


1. First, draw a white frame of your own size as the background.


2. Use the rectangle tool to draw a color block at the bottom. (The colors here are just as transitions).


3. Continue to draw a rectangular color block according to the picture.


4. Use the Rectangle Tool to draw a rectangle.


5. Use the Rectangle Tool to draw a rectangle, and use the Anchor Point Tool to pull out a parallelogram shape.


6. Draw a small window in the middle.


7. Draw two small doors in the middle. The amount is up to you.


8. Use the Rectangle Tool to draw a rectangle on the other side.


9. Continue to draw a rectangle with the Rectangle Tool, and use tools such as the Anchor Point Tool to pull out the following shapes as the eaves of the house. 
10. Use the pen tool to outline the shape of the lawn yourself. 
11. Use the Ellipse Tool and the Rounded Rectangle Tool to form a small tree.


12. Use the oval tool to draw the grass. The method is to use the oval tool to draw 2 long flat circles, and then use the anchor point tool to shrink the two openings.


13. Continue to draw the window.


14. Draw a row of small windows on the house.


15. Continue to use the rectangle tool to deform and other methods to draw the eaves.


16. Use the Polygon Tool or Pen Tool to draw 2 triangles as decoration. 
17. Use the rectangle tool to draw a color block. 
18. Use the rectangle tool to deform and draw the eaves. 
19. Draw windows under the eaves. 
20. Draw a white color block. 
21. Put the white color block in a certain size and position.


22. Use the Anchor Point Tool to adjust to the following shape.


23. Place the white color block on the appropriate layer order.

24. Make another white color block in the same way and place it in the appropriate layer order. 
25. Draw a color block on the eaves. 
26. Draw the chimney. 
27. Draw a white color block. 
28. Draw another color block on top of the white color block. 
29. Draw a triangle as the top of the tower. 
30. Draw 2 circles as decoration. 
31. Draw a triangle next to the tower and adjust the layer order. 
32. Draw 2 decorations. 
33. Use the oval tool to draw the sun. 
34. Use the Pen Tool to outline the shape of the cloud. 
35. Copy all.
36. Use Edit – Edit Color – Recolor Artwork – Edit – Check Link to Coordinate Color – Drag the color wheel. You can change the color of all color blocks at will.  Now you have your very own cartoon house, Have fun!

MORE GOOD IDEAS HERE.

Sharing is Caring:

How to Design Realistic Trees by C4D

Today we are going to make a picture of a real tree, that means we will learn to Design Realistic Trees, and  will use 3D software – C4D.

First of all, let’s talk about the advantages of C4D compared to other software.

1. Powerful function
The C4D operation interface is simple and easy for novices to get started, and the works produced have excellent visual expression. Moreover, it has a mogragh module specially prepared for column packaging, which has incomparable advantages when doing graphic animation and array animation. And C4D’s default renderer is powerful, rendering speed and quality are quite good, you can also use third-party renderers octance, arnold and redshift to achieve better results. And the latest version of C4D supports interaction with AI and AE, and the efficiency and effect are even higher.
2. Large value space in the field of post-design
Now many e-commerce companies have listed C4D as a bonus item for job seekers, which means that designers who are also designers who know C4D are more popular in e-commerce companies and have more competitive advantages. C4D has formed an industry consensus in the field of post-design – designers who know C4D are more valuable, and the employment space will be wider.
3. Collaboration between C4D and other software will be more efficient
It can be said that C4D is an efficient production tool for post-design workers. Whether it is film and television post-production, architectural design, industrial design, or UI animation, e-commerce posters and other fields, C4D has been widely used.
If you are a little more careful, you will find that AE is featured in many C4D animations. In fact, to put it simply, AE post-compositing and fine-tuning are added during C4D production to make the picture more in line with real-time needs and more textured.
In daily work, to put it bluntly, if you use a single software for production, it is actually a waste of production time. At this time, you often need to cooperate with multiple software, and the work efficiency may be increased by more than half.

1. We first open the C4D software and use the Forester plug-in to make trees.

2. The plug-in provides many tree types that can be selected, you can choose by yourself.

3. After selecting the required tree type and adjusting the parameters of the trees, we will copy a few more trees.

4. On this basis, we light the whole environment. You can use sunlight or area light, depending on what kind of atmosphere you want to express.

5. Then you have to find the picture you want to show. Find the best spot in the woods you built yourself, hit the camera, and adjust the focus.

6. When you have selected the picture you want to display, you have to continue to set various parameters of the renderer and add shaders to the trees. This has to be constantly tried and changed. In the end you will get a very realistic picture.

Here is the dynamic picture, Enjoy!

MORE GOOD IDEAS HERE.

Sharing is Caring:

Office Furniture Design Tutorial

One of my friends in the furniture business needed to let the customer intuitively understand the overall effect of office furniture when it was put into the office, so he asked me to help make a set of actual renderings. So, today I want to share with you Office Furniture Design Tutorial.

Office furniture is a very common household item with diverse styles and types. Common office furniture has the following characteristics:
▲Feature 1 of office furniture: various shapes and avant-garde designs.
The diversification of furniture shapes, not only the bright and fresh straight lines are still popular, but also the fresh designs such as arc, circle, ellipse and petal shape. These curves are inadvertently playing the role of dividing the space, fitting the human body structure and curves. They all have a common feature, that is, one-shot molding with few or no connecting parts in between, in order to save material and reduce processing steps.
▲Office furniture feature 2: practical and comfortable to use
The research and development of furniture designers and manufacturers from all over the world is developing in the direction of practicality. While ensuring beauty and novelty, they pay more attention to the use of functions, and put practicality as the first priority. For example, a large multi-person sofa is divided into two independent backrests, the connecting pieces can be freely rotated, and the backrests can either face each other or be connected as a whole; while the shelf used in the living room is composed of multiple regular or different It is composed of regular blocks. Because of its bright color and considerable thickness, it can be used as wall decoration and place items.

According to the actual data provided by my friend, I first used AI to draw the plane size of the furniture. Then use 3DMAX and other 3D software to 3Dize. After the whole is formed, according to the requirements of friends, it will be rendered. During the period, I changed the color of the furniture several times, just to better match the layout of the whole room.

First, I drew a 10x reduced size on AI software (Adobe Illustrator). Through inspection, combined with the product characteristics of each company, a relatively recommended and practical office furniture was designed.

After the above-mentioned plane design thinking, the three-dimensionalization of plane things has also become a particularly important thing. We first drag the finished floor plan into the 3D software, you can use 3DMAX, you can also use C4D, etc. It does not have any restrictions. According to the basic procedure of 3D software, the furniture is 3D. During the period, it should be noted that the size and shape of the furniture cannot be changed at will, and all its parts should not be added or reduced at will.

The final step is the rendering. When rendering, we must consider the matching, the color system of the entire furniture. After exploring the psychology of customers, choosing a color system that customers like will be an important step on your road to success.

If the customer likes a modern style, choose a modern color palette. If you like European style, choose a European style color system and so on.

The focus of rendering is also on the application of materials. The leather feel of the sofa, the reflection of the table, the refraction and reflection of the light, etc. A good rendering is often more able to impress customers.

Lastly, please keep the manuscript as customers may need to make multiple changes.

To summarize, firstly, the design plane is made on the plane software, and then the three-dimensional software is used to visualize the three-dimensionality. Finally, the renderer is used, a good color system is selected, and a good environment is arranged. Remember to keep the manuscript so you can change it at any time.

MORE GOOD IDEAS HERE.

Sharing is Caring:

How to Draw a Coffee Cup by AI

The word Coffee comes from the Arabic Qahwa, which means “vegetable drink”, and later spread to Turkey, where it became the source of the word in European languages. But before the 15th century AD, coffee was monopolized by the Arab world for a long time and only spread among Muslim countries; it was mainly used in medicine and religion at that time. Muslim doctors and monks admitted that coffee has refreshing, refreshing, stomachic, physical, Hemostasis and other effects; the use of coffee has been documented since the beginning of the 15th century, and it was integrated into religious ceremonies during this period, and it also appeared in the folk as a daily drink. Because alcohol is strictly prohibited in the Muslim world, coffee became an important social drink at the time.

Back to the topic, today we will learn to draw a coffee cup by using AI. This tutorial is easy for beginners, enjoy!

1. First draw a rectangle with the rectangle tool .


2. Select the rectangle, and then use the perspective distortion in the free change tool.

3.Change the rectangle into an upside-down trapezoid.

4. On top of the trapezoid, use the Rounded Rectangle Tool to draw a rounded rectangle.

5. On top of the rounded rectangle, use the Rectangle Tool to draw a rectangle.

6. Use the Perspective Distortion Tool again to turn the rectangle into a trapezoid.

7. Copy the trapezoid in Figure 3 in situ. Fill with different colors.

8. Use the eraser tool to erase the upper and lower sides.

9. Delete redundant parts.

10. Use the rectangle tool to draw a rope.

11. Draw a rectangle with the Rectangle Tool.

12. Using the Polygon Tool, draw a triangle.

13. Combine the rectangles and triangles and place them under the rope.

Tips:

Do you know how to choose the right coffee cup?
During the cleaning process of the coffee cup, it is strictly forbidden to use a hard brush to scrub, and the use of strong acid and strong alkali cleaners should also be avoided to avoid scratches and damage to the surface of the coffee cup. When choosing a coffee cup, you can choose the right coffee cup for different occasions according to your personal preference, the type of coffee and the drinking method. Due to the change of personal preferences and places, here are several choices for the types and drinking methods of coffee. Small coffee cups under 100ml – mostly used to hold strong Italian-style coffee or single-origin coffee, such as Italian espresso with only about 50ml. Although it is almost emptied, the coffee has a lingering fragrance after drinking it. The lingering mellow aftertaste and the temperature that seems to be forever warm can warm your heart the most.

More good ideas HERE.

Sharing is Caring: